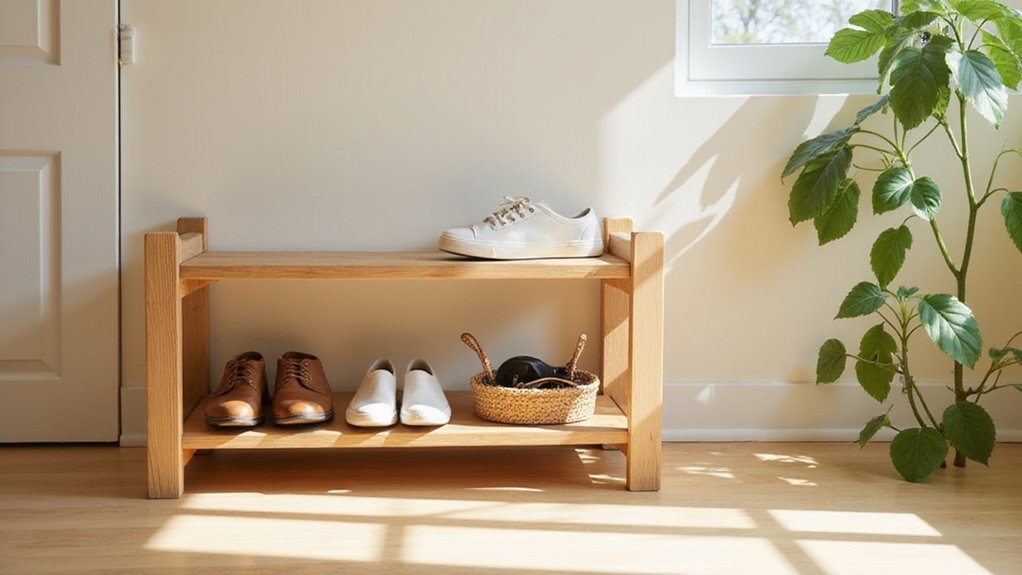
Cluttered shoes can make any entryway feel chaotic. Building your own shoe rack can be a simple, budget-friendly solution that saves you money and offers a custom fit for your space.
With just basic tools and eco-friendly materials, you can create a sturdy and stylish storage solution in a few hours.
Keep reading to learn how to make your own shoe rack from scratch.
Why Build Your Own Shoe Rack? Budget-Friendly Options
Building your own shoe rack can cost as little as $10 to $35 using reclaimed materials. This approach can save you between 50% and 80% compared to buying commercial racks, which generally cost from $50 to $150. By repurposing items like pallet wood or plastic jugs, you not only slash expenses but also choose eco-friendly options. Many DIY projects cost under $30 and take just 2 to 4 hours to complete. Using modular, non-permanent designs helps prevent wall damage, making them ideal for renters. Reclaimed wood ensures sustainability while offering a customizable solution that can hold up to 12 pairs of shoes, helping you stay organized without overspending. For a larger project, you can also scale up your design using standard queen dimensions to ensure your rack fits neatly at the foot of a bed. To ensure the unit stays level and secure, apply the same window framing techniques used for installing a window air conditioner. Before assembling, clean any reclaimed fabric or wood components with a gentle upholstery cleaner to remove dust and allergens safely, just as you would for a fabric headboard.
Cedar vs. Pine vs. Oak: Best Wood for Your Shoe Rack
Cedar is the best choice for a shoe rack in damp entryways because it naturally resists moisture and odors. Its aromatic, insect-repellent properties help protect your shoes and extend the rack’s lifespan. However, cedar requires proper sealing and finishing techniques to prevent weathering over time. Regular maintenance helps preserve its appearance and effectiveness. Cedar’s ability to stave off insects and dampness makes it ideal for spaces prone to high humidity or exposure to the elements.
How to Measure and Cut Lumber for a Perfect Fit
To achieve a perfect fit, start by measuring your lumber from the inside edge of a stop block. This ensures consistent lengths across multiple pieces. Use precise measuring techniques: mark from the longest piece inward, verify center points by halving the total width, and account for joinery thickness when calculating gaps. For dado cuts, set the blade depth to 1/4 inch for shelf slots, ensuring a precise fit.
Use your cutting tools strategically. Cut across the long grain on edge-glued panels to prevent splitting. For irregular wood like cedar, establish a square end with a miter saw first, then use your stop block for length cuts. Rip edges to exact widths by aligning the saw with the long grain. Adjust router bit depth gradually—start with a ¼-inch pass, then go to 3/8-inch—for clean grooves. Clamp pieces securely after gluing and check squareness immediately. Before assembly, smooth all cut edges with sandpaper to remove splinters and ensure a neat finish.
Essential Joinery for a Sturdy Shoe Rack
To build a sturdy shoe rack, you should use the following joinery techniques: pocket holes, wedge tenons, and dado and rabbet joints. For pocket holes, drill six on each long edge of the back piece, avoiding the center inch, plus four on each end. Set your drill bit to a 3/4-inch depth on your combo square, and space the center holes 3 and 3/4 inches from the board’s end. This creates strong, concealed joints that add stability without visible fasteners.
For wedge tenons, cut a 20-mil gap and insert two wedges simultaneously to prevent misalignment. This method ensures tight, secure joints especially suitable for load-bearing parts. When cutting the tenon, create a slot matching the wood thickness to allow for proper wedging.
Dado joints are made by running a groove with a table saw into the rails, fitting the slats into these slots. Rabbet joints are then used to cut a recess into the ends of the slats so they sit flush when assembled. Apply wood glue after testing the fit of each joint, then clamp all parts firmly until dry. Following a budget-friendly bed frame approach, you can source affordable materials like plywood for the slats to reduce costs. Simple square cuts are the primary method however, as this project is designed for novice woodworkers to avoid complex joinery.
Choosing the right material, such as durable hardwood, and using high-quality glue like Titebond III, will ensure these joinery techniques provide lasting rigidity. Proper execution of these joints results in a sturdy, long-lasting shoe rack built to support daily use.
Design Shelf Spacing for Boots, Sneakers, and Heels
Adjust your shelf spacing based on the type of footwear to ensure proper fit and airflow. For flats and low heels, set a vertical clearance of 12 to 15 centimeters. Sneakers require 18 to 20 centimeters to accommodate their bulk. Tall heels should have 20 to 25 centimeters of space, while tall boots need 30 to 35 centimeters. Leave an additional 2.5 centimeters above your tallest shoe to promote airflow and prevent moisture buildup. For a rustic portable shoe rack made from repurposed dresser drawers with casters, these spacing guidelines can be easily adapted by adjusting dowel or pipe positions. A useful comparison is that a Cal King mattress measures about 198 by 213 centimeters, offering a smaller footprint than a king quilt for scale.
For efficient use of space, group pairs with 2.5 to 5 centimeters (1–2 inches) between them. Position your most accessible shoes at an ergonomic height of 76 to 127 centimeters (30 to 50 inches). Reserve the bottom 61 centimeters (24 inches) for children’s shoes. Incorporate a slight tilt of 5 to 7 degrees or a toe stop to angle shoes outward. This setup allows easy visibility and selection, maintaining a balanced layout that keeps your footwear organized without cramming. For optimal airflow, consider that a king size quilt typically measures about 259 by 259 centimeters, offering a reference point for proportionally scaling your rack’s footprint. To further refine your routine, a vanity mirror with lights can help you quickly assess shoe appearance and fit before heading out.
Step-by-Step Assembly: Legs, Supports, and Frame
To assemble the legs, supports, and frame, start by pre-drilling pocket holes into each end of your 12-inch 2×2 pieces and 1×2 pieces. Then, attach these to the 28 1/2-inch 2×2 vertical leg supports using 1 1/4-inch pocket hole screws. This process creates two identical side frames that will serve as the base legs.
You can also consider material alternatives—swap out the 2×2 stock for 3/4-inch plywood cut to width to reduce weight while maintaining strength. For added stability, apply glue to the joints before screwing them together. Next, cut 1×12 boards to span horizontally inside each frame, securing them with pocket screws at evenly spaced intervals. This creates supports for your shelves and ensures even weight distribution. Alternatively, entirely from 2×8 lumber can be used for a sturdier, budget-friendly option. For a secure hold, use a stud finder to locate wall studs before attaching the frame. To further optimize your budget, consider using reclaimed wood for the shelf boards to save money.
Before tightening all screws, verify that each brace is level to ensure the structure is square and rigid. Proper alignment at this stage helps prevent wobbling or misalignment later on. Once assembled, your frame should be sturdy, with precise attachment points ready for the subsequent steps.
How to Stain and Protect Your Shoe Rack
After your frame is solidly assembled, staining and protecting the wood is essential for durability. Start by preparing your workspace with safety gear, including gloves and good ventilation, as fumes and chemicals can be hazardous. When applying stain, use even strokes and let it soak in for a few minutes before wiping off the excess with a clean cloth. This ensures a smooth, even color that penetrates well.
For added protection, apply chemical treatments such as wood preservatives or water repellents. These treatments guard against moisture, mold, and rot, extending the life of your rack. Once the stain and treatments are fully dry—usually 24 to 48 hours—move on to surface finishes. A polyurethane sealant provides a strong, protective layer. Apply two thin coats with a foam brush, sanding lightly with fine-grit sandpaper between coats to achieve a smooth, durable finish. This seals in the color and minimizes the risk of scratches or wear over time. Similar to how a trundle for twin bed offers a reliable and protective solution for space optimization, this finish guards against daily use. Choosing the right size for your space can make a significant difference, much like understanding queen mattress dimensions for proper room layout. For the best long-term durability, aim to replace the rack when it shows significant wear, much like knowing the typical lifespan of a memory foam mattress ensures timely replacement.
To maintain your shoe rack, use a gentle cleaning solution made of mild soap and water for spot cleaning. Avoid harsh chemicals that could strip or damage the finish. Regularly wipe up spills immediately and keep the rack in a dry environment. Controlling room humidity helps prevent the wood from swelling or warping, ensuring your hard work lasts for years.
Organize Shoes: Vertical Storage for Seasonal, Horizontal for Daily
Vertical racks maximize storage efficiency, making them ideal for seasonal footwear you rarely wear. They can hold 20 to 30 pairs in a compact space and are adjustable to accommodate shoe materials like leather or canvas. Tall, rotating racks allow you to store boots and special-occasion heels, which can be grouped by color for quick selection. For off-season shoes, under-bed zippered pouches or sealed carts work well to keep them out of the way and reduce clutter. Similarly, medium firm mattresses can provide essential back pain relief by offering balanced support that aligns the spine during rest. For a cooler sleeping environment, consider pairing this setup with a quiet portable AC to maintain consistent temperature and lower noise levels overnight. DIY closet system plans often include adjustable shelving to customize storage for any space.
In contrast, horizontal shelves are best for daily shoes. They enable you to see and access your go-to sneakers and everyday footwear within seconds. Pairing vertical racks with baskets adds extra functionality, helping you organize by category or height while maintaining ease of access. This combination enhances your closet’s efficiency without creating extra hassle or clutter.
Troubleshoot Common Shoe Rack Problems
To troubleshoot common shoe rack problems, start by cleaning the rack regularly, especially after rain. Use a dry or slightly damp cloth to wipe away mud and debris. To prevent mold, place your rack in a well-ventilated area rather than a damp corner, and elevate the base or add slatted shelves to improve airflow. Inserting silica gel sachets or bamboo charcoal helps regulate humidity and keep shoes dry. If joints become loose or break, empty the rack, clean off old glue, and reapply a steady bead of wood glue. Check the gap distances and replace any damaged screws to restore stability. For racks with insufficient depth, opt for sizes around 12 to 14 inches for sneakers or 16 to 20 inches for boots. Slightly tilting shelves can help prevent shoes from slipping off, and limiting the number of pairs at the entrance to one per person reduces overcrowding and clutter.