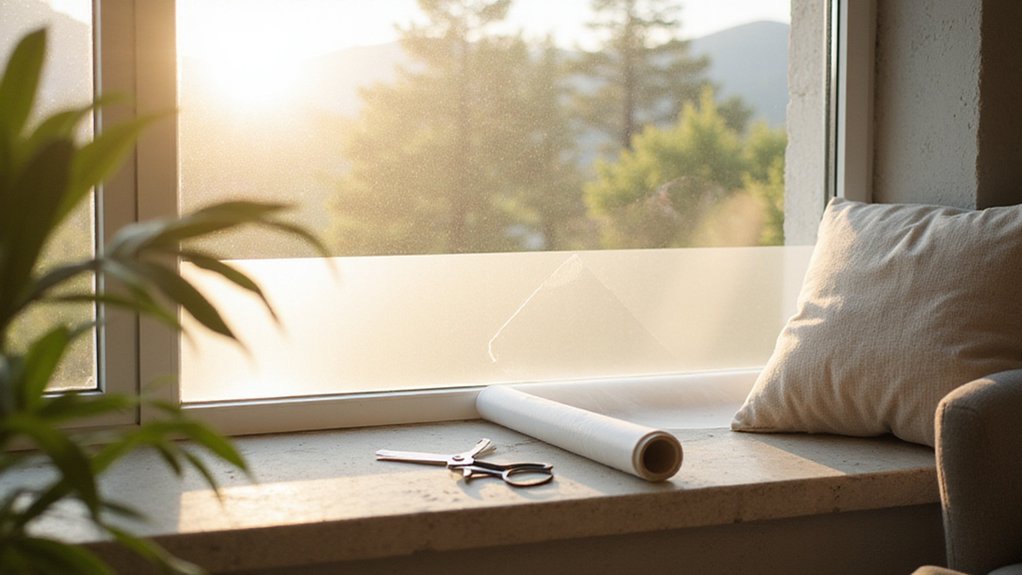
If you wonder how to add privacy or style to your windows without professional help, DIY window film might be just what you need. It’s an affordable way to transform any glass surface with a few simple steps and some basic supplies.
By the end, you’ll be able to carefully measure, cut, and apply the film for a smooth, bubble-free finish. Keep reading to see how it all comes together.
How to Frost Your Windows With Contact Paper for Instant Privacy
To ensure your contact paper adheres smoothly and looks clean, start by thoroughly cleaning the window with glass cleaner and a lint-free cloth. Use a razor scraper to remove stubborn buildup or old adhesive. This step is crucial because dust or debris can prevent proper adhesion and make removal more difficult later. Measure the glass width and height, then subtract 1/16 inch to allow for slight adjustments during application. Cut your contact paper about 1/2 inch wider than the surface to cover the entire area and 1 inch longer if you plan to hang it horizontally. To create a pattern with evenly spaced strips, mark out 2-inch gaps along the window frame, then follow the Fibonacci sequence to vary your strip widths for visual interest. Carefully position the film before pressing it down to prevent bubbles and misalignment, ensuring a tidy and professional-looking finish. For a reference in sizing precision, note that a standard queen mattress is 60 inches wide by 80 inches long, demonstrating how exact measurements ensure a proper fit. Similarly, whether a ceiling light is visible depends on factors like brightness and placement, which also require precise planning for an optimal outcome.
Use Dish Soap and Water for Bubble-Free Application
To achieve a bubble-free application, use a simple dish soap and water solution that allows you to slide the film into place before it sticks. Mix just one to two tiny drops of mild dish soap, such as Joy or Dawn, per 500 ml of water. Shake gently to disperse without creating suds. Spray the glass generously so you have a full wet layer, not just a light mist. Lightly mist the adhesive side of the film as well. This wet surface makes repositioning easier, helping you align the film precisely. As you squeegee from center to edges, you push out all air and excess water, ensuring a durable and smooth adhesion. The soap leaves no residue, making it an eco-friendly cleaning method. Allow the film to cure for a day or two before cleaning to ensure optimal adhesion. For a flawless finish, work in a cool dry place to prevent the film from drying too quickly, just as you would when drying a comforter. Always apply the film with both the glass and film fully wet, using excess solution if needed to prevent premature sticking. Avoid using the window for at least 24 hours to allow the adhesive to fully set, preventing the film from shifting. For a budget-friendly approach, consider using scrap wood or pallets as a similar low-cost material choice.
How to Apply Glue Without Damaging Your Glass
To apply glue without damaging your glass, start by thoroughly cleaning the surface with a window cleaner and a lint-free cloth. Then, scrape the glass gently with a fresh blade held at a low angle to remove invisible dirt and debris. Keep the glass saturated with a soapy water solution throughout the scraping process to prevent micro-scratches; this step is essential for protecting your glass. Use a slip solution made specifically with water and Johnson’s Baby Shampoo—avoid other soaps to prevent chemical reactions that could interfere with adhesion. Hold the razor at a consistent 45-degree angle and apply light pressure to avoid gouging the surface. As you lift the glue or adhesive, continuously lubricate it with soapy water to prevent re-bonding. For best results, ensure the workspace has proper humidity control to avoid premature drying of the solution, similar to how a dehumidifier maintains optimal moisture levels. Measure each pane individually due to size variations, and keep the larger measurement for width and height. A standard twin mattress is 38 inches wide by 75 inches long, providing a useful reference for spacing your glass panels evenly in a cozy bedroom layout. For a simple DIY alternative, consider using a budget-friendly hat rack as a sturdy, non-slip surface to support your glass panels during the drying process. These careful techniques ensure that your application process is gentle on the glass and minimizes the risk of damage.
Remove Air Bubbles and Dry Your Window Film Properly
To remove air bubbles and dry your window film properly, start by warming the film to soften the adhesive. Use a hairdryer or sunlight to gently heat the film, making it more pliable. Keep the heat exposure short—about 30 seconds at a time—to avoid damaging the film or window seals. Once the film is softened, use application tools like a pin or utility knife to carefully create a tiny opening at the bubble’s edge. This allows trapped air to escape gently. Next, grab a squeegee and, beginning at the center, push air and solution outward toward the nearest edge. Hold the squeegee at a slight angle to prevent adding new bubbles. For optimal adhesion, add a few drops of alcohol and baby shampoo to water to create a slippery mixture. Spray this generously over the film, then resqueegee the entire surface to ensure complete removal of air and excess liquid. Avoid using a heat gun without following a 3-second rule to prevent overheating and blistering the film. After installation, allow the film to cure fully for 3 to 5 days before rolling windows down. Proper technique and patience will result in a smooth, bubble-free finish. For long-lasting protection, consider using a bed bug encasement on your mattress to prevent pests from reaching the surface. When selecting a lamp for the room, the cost of the lamp affects your overall decor budget.
Decorating Ideas for Your DIY Frosted Window Film
You can add depth and visual interest to your frosted window film by incorporating color layering. Cut colored vinyl into shapes or strips and apply them over or alongside the film. This technique creates a striking contrast without increasing your budget—just some extra cuts and placement. Additionally, you can fake a window on a blank wall by marking out the desired dimensions with a pencil and a level, then applying the frosted film smoothly within that outline. Once in place, add a decorative frame and sill to complete the illusion of a real window. To turn a section of wall into a stylish privacy feature or artwork display, adhere the film directly to the wall, then frame it with a white or metallic frame. Before applying the film, clean the frame thoroughly with a damp cloth to ensure a smooth, bubble-free finish. Use a scraper tool instead of hands to improve adhesion and remove bubbles with gentle, even pressure for a flawless finish.