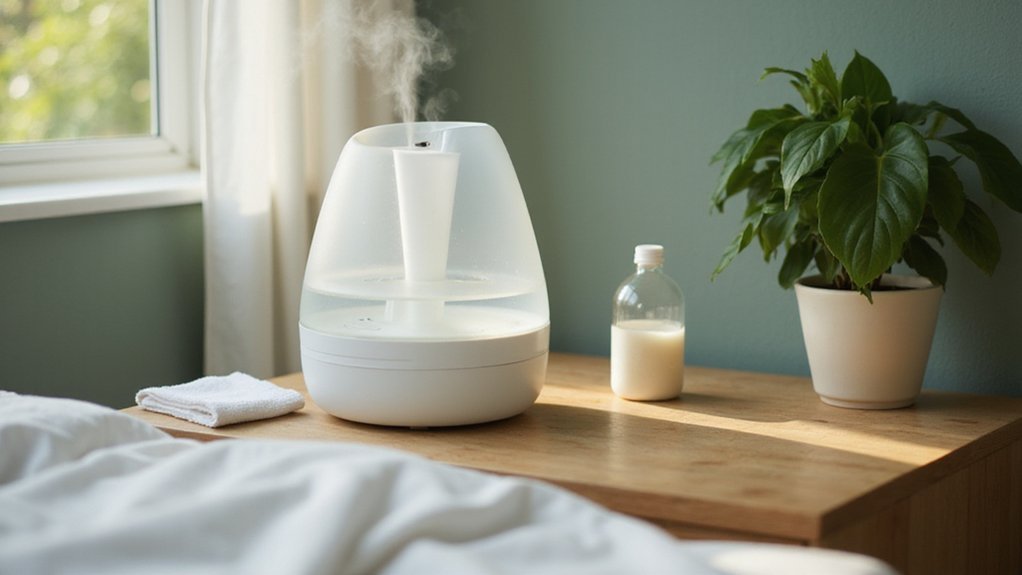
Keeping your Vicks humidifier clean is key to ensuring it functions properly and stays safe to use. Over time, mineral buildup and bacteria can accumulate, affecting air quality and device performance.
In this guide, you’ll learn a simple, step-by-step routine to thoroughly clean and descale your humidifier each month.
Follow along to maintain a fresh and healthy environment in your home.
Unplug, Disassemble, and Remove the Mist Chimney, Water Tray, and Cover
To clean your Vicks humidifier, you need to unplug it first, and let it cool for 20 to 30 minutes if it has been recently in use. Confirm that the unit is completely off and disconnected from power. Locate the blue release latch on the mist chimney assembly, press it, and lift the chimney away from the base. Rinse the chimney immediately with clean water to remove any residue, and be sure to scrub away mineral deposits with a soft brush if any stubborn scale is visible. Always handle the parts with gentle handling to avoid damaging the internal components, similar to caring for a weighted blanket.
Next, find the blue tab on the water tray. Lift the tray from that tab to detach it from the base unit. After rinsing, wipe the tray dry with a clean cloth. Locate the large round opening on the heating element cover, lift it off its seat, and pull it away from the chimney connection. Rinse the cover thoroughly to eliminate any build-up. Check the filter placement afterward to ensure nothing is blocking airflow, similar to checking for obstructions that can reduce cooling efficiency in a window unit. Finally, neatly wrap the power cord around the base to keep it out of your way during cleaning. Ensure you empty remaining water from the base for safe handling before proceeding with any further steps.
Descale the Heating Element and Nebulizer With Vinegar for 20 Minutes
To descale the heating element and nebulizer, use white vinegar undiluted and soak both parts for exactly 20 minutes. First, pour the vinegar into the reservoir until it drains into the heating chamber, then add enough to cover the nebulizer in the base. This duration helps dissolve mineral deposits effectively; extend the soaking time if you notice stubborn buildup. For stubborn scale, wrap a vinegar-moistened paper towel around the heating element and let it soak for 30 minutes.
While they soak, gently wipe around the nebulizer with a soft cloth or a cotton swab to loosen any deposits. Do not turn on the device during this process to avoid damaging its components. For optimal performance, always unplug the dehumidifier before starting any cleaning procedure. After the soak, thoroughly rinse all parts with clean water to remove any vinegar residue before reassembling or using the device again. For ongoing maintenance, consider using distilled water to prevent mineral buildup, or explore alternative descaling solutions like a citric acid mixture for a scale-free clean without vinegar residue. Similar to how one-way mirror films reflect light to reduce visibility, this careful rinse ensures no residue remains on the clear components. For a related approach to keeping other household items in good condition, consider that quilt patterns require careful washing to preserve fabric integrity.
Scrub off Mineral Buildup From the Heating Element, Tray, and Tank
After descaling, scrub the heating element with a soft brush dipped in undiluted white vinegar to remove any remaining mineral deposits. Avoid using hard abrasives; a toothbrush works well for the heating nub. For stubborn scale, wrap a vinegar-soaked paper towel around the element and let it sit for at least 30 minutes, then scrub again. Next, clean the water tray and base by pouring vinegar into the reservoir and allowing it to soak for 20 minutes. Rinse thoroughly until the vinegar smell disappears. Use cotton swabs to reach tricky corners. Wipe the heating element cover and rinse it clean. Before reassembling, make sure all parts are completely dry to prevent residue from forming in the mist. Regular maintenance also includes replacing filters and adjusting humidity settings to reduce future mineral buildup. To help prevent buildup altogether, always fill the tank with distilled water. Using distilled water is a key difference when comparing your humidifier to queen mattress sizes, which rely on standard measurement tolerances rather than water quality. This process is similar to avoiding common mistakes when installing window film, as proper preparation and drying are crucial for a lasting result. Forgetting to dry components fully is a common mistake that leads to mildew and equipment damage.
Sanitize the Water Tank and Reservoir With a Bleach Solution
To sanitize your water tank and reservoir effectively, use a bleach solution. Mix one teaspoon of bleach with one gallon of cool water. This concentration is strong enough to kill bacteria and mold but safe for most tanks when properly used. For smaller tanks, adjust the mixture to half a teaspoon per half gallon of water. Pour the solution directly into the tank, insert the mist nozzle, and secure the cap tightly. Swish the tank in a circular motion to ensure the interior surfaces are coated evenly. Following these steps is similar to the structured guidance found in beginner quilt making kits for achieving consistent results. For a more natural approach, you can also apply white vinegar rinses to prevent mineral buildup.
Next, place the tank onto its base, allowing the solution to drain into the reservoir. Let it soak for twenty minutes to allow the bleach to thoroughly disinfect the interior. During this time, avoid turning on the unit and keep it unplugged for safety. After soaking, rinse the tank thoroughly with clean water to remove any residual bleach before reuse. Proper maintenance of air filters and regular water testing help prevent bacterial buildup, but deep cleaning with a bleach solution is essential for thorough sanitation. For longer cleanliness, consider using a demineralization cartridge in your humidifier. Always wear protective gloves and work in a well-ventilated area to avoid inhaling fumes during this process.
Rinse Thoroughly and Air Dry All Parts for 3–4 Hours
After the bleach solution has soaked for twenty minutes, rinse thoroughly and air dry all parts for 3 to 4 hours. Use warm water to flush each plastic piece, ensuring you agitate the tank repeatedly to remove all traces of bleach. Depress the tank valve to allow fresh water to drain through the base, and repeat this process until the bleach scent disappears completely. Be careful not to immerse electronic components during rinsing. Keep all parts in a dry, well-ventilated area during the drying process to inhibit mold and mildew growth. Ensure the drying space is large enough, similar to the spaciousness of a king mattress accommodating two people.
Once rinsed, wipe all surfaces with a damp microfiber towel to remove any residue. Shake each part gently to dislodge excess water. Place the components on a clean tea towel or a drying rack to promote evaporation. For optimal drying, make sure all parts are fully disassembled and inspect seams and corners for any remaining water.
Leave everything to air dry for at least three to four hours, ensuring they are 100 percent dry before reassembling. Remove the filter and swish it in cold water separately, then allow it to dry independently. Regularly follow these drying techniques during cleaning to prevent mold buildup and maintain hygiene standards.
Reassemble the Humidifier Correctly and Check for Leaks
To reassemble your humidifier correctly and check for leaks, follow these steps. First, realign the water tray and mist chimney ensuring they fit snugly in their designated positions. Snap the heating element cover onto the bottom securely to prevent gaps that could cause malfunctions. Carefully insert the wicking filter without bending or twisting it, as damage can hinder proper operation. Reattach the air filter door by first aligning the tabs accurately to avoid misfit.
Next, fasten the tank cap tightly, making sure the gasket is properly positioned to prevent leaks. Verify that the spring valve moves freely without resistance, which is essential for smooth misting function. Place the entire unit on a level, stable surface with the nozzle facing upward. Always keep the power switch off and the unit unplugged during reassembly to avoid electrical hazards. For a polished setup like a vanity with lit mirror, ensure all components are aligned to maintain a clean appearance.
Once assembled, fill the water tank and inspect the base and cap for any drips or leaks. This step helps identify potential issues early. If you notice water escaping, immediately unplug the unit and examine it for damaged parts or misaligned components. Addressing leaks at this stage avoids bigger problems later and ensures your humidifier functions safely and efficiently. The float switch, which controls the water cutoff, must also be verified to ensure the device operates correctly when refilled.
Maintain a Monthly Descaling Schedule to Prevent Buildup
To prevent mineral buildup, you should descale your humidifier monthly using undiluted white vinegar. Fill the base until the heating element is fully submerged and let it soak for at least 20 minutes. For heavy deposits, extend the soaking time to several hours. During this process, use a soft brush to scrub away minerals and a cotton swab to clean around the nebulizer. If you use hard water, dedicate a monthly “spa day” to soak the parts in vinegar, which helps remove stubborn limescale. Engage with community feedback and experiences for additional cleaning tips. Regular descaling keeps your humidifier operating efficiently and maintains proper humidity levels, which benefits your air quality and prolongs the unit’s lifespan. Consistent maintenance prevents mineral residue that can damage your device and ensures you’re breathing cleaner air. For a creative weekend project, consider making stylish macrame plant hangers to complement your home decor while you wait for the soaking parts to dry.