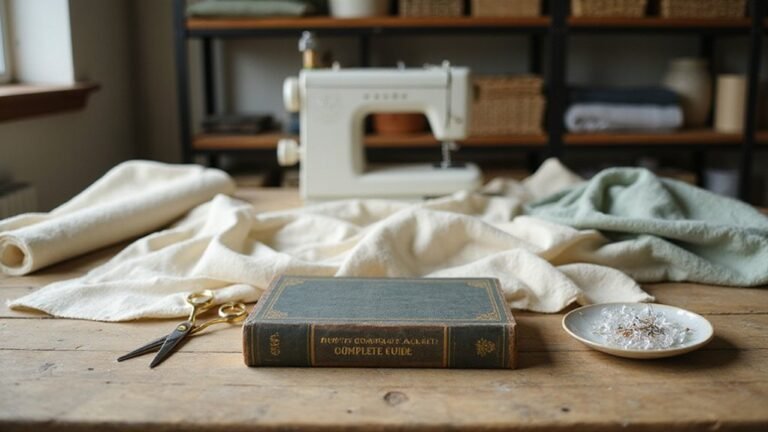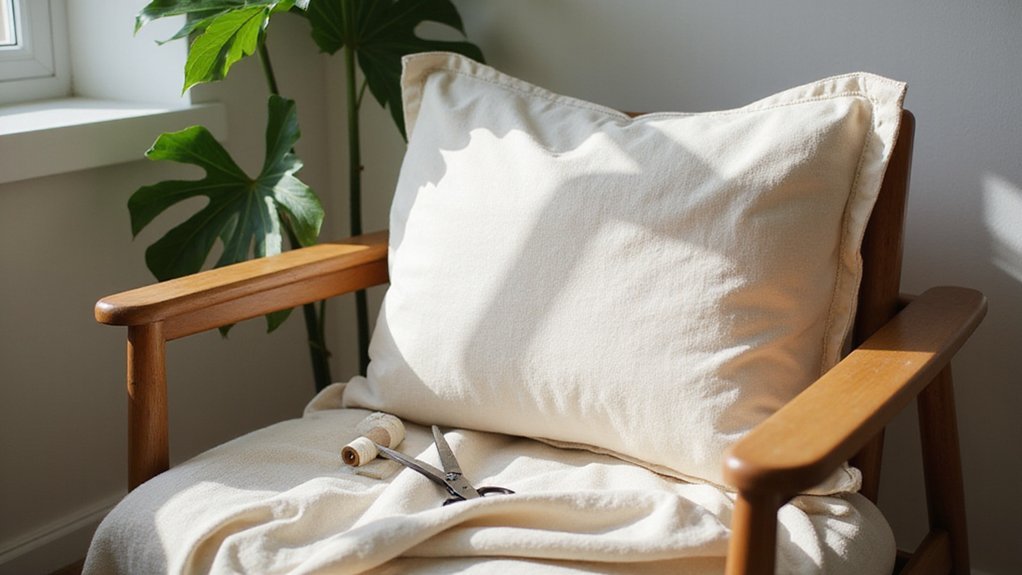
Want to make your own pillowcase but unsure where to start? Crafting one at home is simple and affordable, especially when you choose soft, breathable fabrics like cotton or linen.
With just a few measurements and some basic sewing steps, you can create a custom pillowcase that fits perfectly and looks beautiful.
Keep reading for easy instructions to get you started.
Choose the Right Fabric and Tools for Your Pillowcase
The best fabrics for pillowcases depend on your priorities, but cotton is generally the top choice for its softness, durability, and easy maintenance. It’s machine washable, making it convenient to care for regularly. Linen offers an elegant, breathable option that also ages well. Polyester is budget-friendly and resistant to wrinkles and shrinking, while silk provides a luxurious feel and is hypoallergenic with moisture-resistant properties. If you have allergies or sensitive skin, hypoallergenic fabrics like silk or bamboo are ideal. For those who also prioritize a polished appearance during their beauty routines, a vanity with lit mirror can complement the luxurious feel of silk or bamboo fabrics.
When choosing fabric, consider how easy it is to wash and maintain. Machine-washable options like cotton and polyester simplify routine care, while delicate fabrics like silk need gentle handling. Bamboo fabric resists moisture and is suitable for sensitive sleepers but requires gentle cleaning. Match your fabric choice to your needs for comfort, durability, or luxury.
Gather your tools—sharp sewing needles, matching thread, measuring tape, pins, and a sewing machine or needle for hand sewing. Ensure your fabric is pre-washed to prevent shrinking later. Use straight seams with a ½-inch seam allowance to keep your pillowcase neat. For a perfect fit, measure your pillow’s circumference and add 5 centimeters, then measure its length and add 10 centimeters. Consider hypoallergenic blends if allergies are a concern, and choose sturdy fabrics if you want your pillowcase to last longer. Velvet adds warmth but may wear faster, so select it if you prefer rich texture and don’t mind replacing it sooner. If your pillow is a queen size mattress, ensure your pillowcase dimensions match the standard 60-by-80-inch bed size for a proper fit.
Cut and Press Your Pillowcase Cuff Like a Pro
To cut and press your pillowcase cuff like a pro, start by pressing the cuff edge 3/8 inch to the wrong side. Use steam to flatten the crease and maintain a sharp corner to prevent bulging later. Align the raw edges of the cuff with the main fabric before pressing, ensuring a uniform fold along the entire length. For the king-size pillow, the cuff is trimmed to 9 in by 42 in, and pressing it flat before assembly ensures a strong foundation to prevent shifting. Explore different cuff folding techniques to achieve clean, consistent results—such as folding once or twice for a more tailored look. For seam finishing, you can press the seam toward the cuff later or opt for a topstitched finish for added durability. Precise pressing now keeps your cuff crisp and even, providing a strong foundation to prevent shifting during assembly. Taking your time with a sharp press makes a noticeable difference in your final finish. Just as with a window air conditioner, securing a level surface prevents the fabric from shifting during assembly. A similar emphasis on structural support ensures your finished pillowcase lays flat without distortion, reflecting the same principle as choosing a bed platform for stable bedding. Using budget-friendly materials like MDF boards can also reinforce the cuff assembly against shifting.
Pin the Pillowcase Pieces to Align Raw Edges and Cuff
To pin the pillowcase pieces for proper alignment, start by pressing your cuff, then stack the fabric layers with the cuff piece face up on the bottom. Place the main body fabric face up directly on top, aligning the selvage edges to create a straight, uniform stack. This method ensures your seams will match perfectly from the start. If you’re adding trim, align its raw edge with the top edge of the body fabric before pinning. Use a few evenly spaced pins or clips to secure all layers, making sure not to over-pin or you risk causing distortion. Keep the body fabric flat with no twisting to prevent misaligned seams later. Pin along the entire length, placing pins close to the raw edges to catch all layers evenly. This process aligns with standard cutting guidelines, which recommend trimming salvage edges to create a stable, ready-to-sew unit that won’t shift as you work. For best results, avoid over-pinning the layers to prevent fabric distortion, similar to how weighted blankets require gentle handling to maintain their fill distribution. If you prefer a cooler workspace, LED headlights generate less heat than halogen bulbs, reducing discomfort during long sewing sessions. Just as air purifiers require consistent filtration to remove pollutants, careful pinning ensures that clean seams are achieved without shifting fabric layers.
Stitch the Pillowcase Seams With the Correct Allowance
Start with a 1/4-inch seam allowance when sewing the wrong sides of the fabric together. This initial stitch helps you trim the seam down to 1/8-inch later, which allows the fold to lie flat for a clean finish. For the main assembly, use a 1/2-inch seam allowance on the bottom, left side, and top edges to trap all raw edges inside, ensuring a durable seam. After sewing, trim the seam allowances on these three sides to 1/4-inch, and clip the corners diagonally, being careful not to cut through the stitches. This prepares your edges neatly for pressing and turning. Align the body, accent, and cuff fabrics with raw edges and selvages together before pinning, using the layering & assembly process to secure the layers.
Turn, Press, and Finish Pillowcase Edges for a Clean Look
To turn, press, and finish pillowcase edges for a clean look, start by trimming the seams and clipping the corners. Fold the raw edge six inches toward the wrong side of the fabric, then press firmly to set the fold. Tuck the folded edge under by one inch, aligning it with the fold line, and press again to create a crisp hem. Unfold everything and ensure all corners align with the pressed lines.
Pin the folded edge 1/8 inch from the fold, making sure the turns face the wrong side so the side seams will match when sewn. Press the seam allowance flat and spritz with spray starch for better adhesion. Use your fingernails to push the seam out, then give it a final press. Start by pressing the bottom band from the wrong side first. To protect the glass beneath, lay a soft towel over the work surface to cushion the fabric and prevent scratches. This step is especially helpful if you are using a glass cutting mat or ironing board.
Sew a ¼-inch seam along both the side and bottom raw edges with right sides together. Trim the seam allowance to ¼ inch to reduce bulk. Turn the pillowcase right side out and gently poke the corners to shape them. Sew a second seam at ⅜ inch to trap the raw edges inside. This technique creates a French seam that encloses all raw edges without needing a serger. Turn the pillowcase right side out once more and press for a smooth, finished edge.
For added skin and hair benefits, consider using silk fabric for your pillowcase, as it reduces friction and helps prevent creases. A duvet cover serves a similar protective purpose for larger bedding, keeping comforters clean and adding style to the bedroom.
Try the Magic Pillowcase Method for Quick Results
The Magic Pillowcase Method allows you to sew with a single, efficient seam, saving time and reducing fabric handling. Start by folding your trim fabric lengthwise and pressing a crease. Lay the main fabric flat on your workspace, then position the cuff piece pattern-side up. Add the main fabric face-up on top, followed by the trim layer. Pin these layers from the top, then roll the main fabric upward, aligning the selvages to ensure straight edges. Fold the cuff over the rolled layers to form a tube. Sew a ¼-inch scant seam along the side and bottom edges, backstitching at each end to secure your stitch. Use the pivot technique at the corners for a precise curve, which helps maintain the shape of your seam. This method minimizes fabric handling and repetitive sewing, boosting durability and consistency. To prevent unraveling, zig zag stitch or serge the raw edges. Once sewn, trim the seams to 1/16 inch, turn the tube right-side out, and press to create a clean, crisp finish.