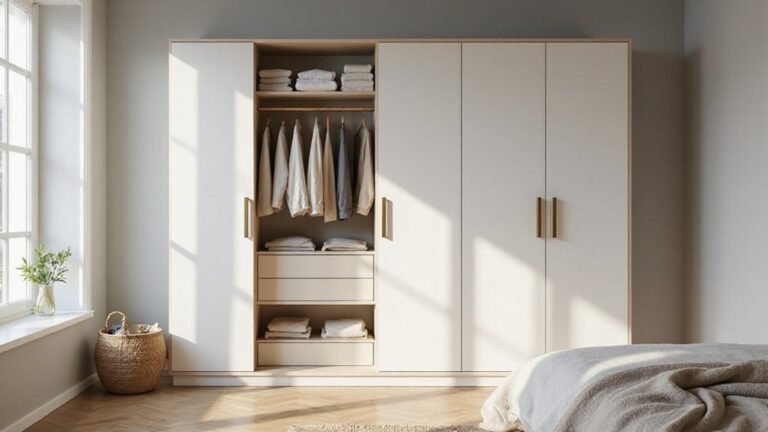
Looking to build a custom closet that fits your space and works for your wardrobe? You can often do it yourself in just a weekend with some simple measurements and basic materials.
By dividing your closet into zones, using the right supports, and maximizing hanging space, you’ll create a functional and organized system you can be proud of.
The full details are right below to help you get started.
Measure Wall Dimensions for Shelf Support Lengths?
Start by measuring the full width of the wall from edge to edge, excluding any moldings, to determine your maximum usable space. Subtract at least 6 to 12 inches from each side to allow for breathing room and prevent the shelves from appearing cramped. Identify any windows, doors, outlets, or switches that could interfere with shelf placement, and plan to adjust shelf heights or create gaps around electrical elements. Consider nearby design features like art pieces or decorative elements that might break visual lines, ensuring your shelves complement rather than clash with your decor. Leave space for future lighting options as well. To ensure accuracy, check the wall’s squareness by measuring diagonally from corner to corner, and use cardboard templates to account for irregular angles. Reference a queen mattress dimensions to ensure your planned shelf lengths leave sufficient clearance for a standard bed frame against the wall. Following these dimensions also helps coordinate with the storage bin rack depth to maintain a streamlined look. These steps help you determine precise support lengths before cutting your shelf boards. For added safety, remember that gentle machine cycles protect delicate materials from damage during cleaning.
Assemble and Install Shelf Supports for a DIY Closet System
Cut your 1×2 lumber to the specified lengths: the back wall supports should run the full length of the back wall, side supports should be cut to 11 inches, and individual shelf pieces should measure 12 inches each. Use a pencil and a measuring tape to mark these lengths accurately. For the back wall supports, measure carefully to ensure they span the entire length without gaps.
Next, draw a horizontal line 84 inches from the floor on the back wall to position the support perfectly level. Repeat this process on the side walls, drawing marks 12 inches out from the back on each side. Use a level to draw a straight, horizontal line at each mark; this ensures your supports will sit evenly. A common mistake to avoid is failing to check the level across the entire span before finalizing the line. For a long closet, use a curtain rod as a straight edge to extend your leveling line across the full width.
Pre-drill pilot holes along the marked lines to prevent the wood from splitting when fastening. Use a drill and the appropriate drill bit, typically slightly smaller than your screws. When attaching the supports, apply wood glue to the contact points for extra strength. Fasten the supports to the wall studs with 2-inch wood screws, making sure each screw is driven into a stud for maximum support. Check alignment with a level before tightening all screws completely. Use a laser level for quick, accurate line marking around the perimeter. For proper illumination while working in a dark closet, battery-operated string lights provide a convenient and cord-free lighting solution.
Pick Budget-Friendly Materials Like Melamine or MDF
Melamine and medium-density fiberboard (MDF) are both budget-friendly materials that can keep your DIY closet project around $100. While they aren’t solid wood, they provide a durable and affordable option. MDF requires precise cuts with a saw because it can chip easily if mishandled, but it accepts paint smoothly, giving a polished look. Melamine, on the other hand, needs careful pocket-hole joinery to ensure sturdy connections, and it comes with a smooth, textured surface that resists moisture. Unlike the decision between comforters and duvets, which hinges on personal bedding preferences, choosing between melamine and MDF for your closet system depends on your skill level and desired finish. A consistent track and level mounting surface is essential for proper installation of vertical blinds, just as it is for closet components. For best results, you should also follow a similar principle to mounting the rod at the correct height to ensure your closet framework aligns properly.
Both materials come in standard 3/4-inch sheets, making them suitable for typical closet depths. Finishing melamine is simple with iron-on edge banding, which adds a clean look at low cost. For MDF, sanding the edges with 180-grit paper before priming is key. Applying oil-based primer followed by two coats of paint provides a professional finish. Filling nail holes with spackle and caulking seams ensures a smooth, seamless appearance.
Using these materials saves money without compromising durability. Just be mindful of their weight and maintenance needs to ensure your closet stands the test of time.
Go Vertical Without Losing Floor Space
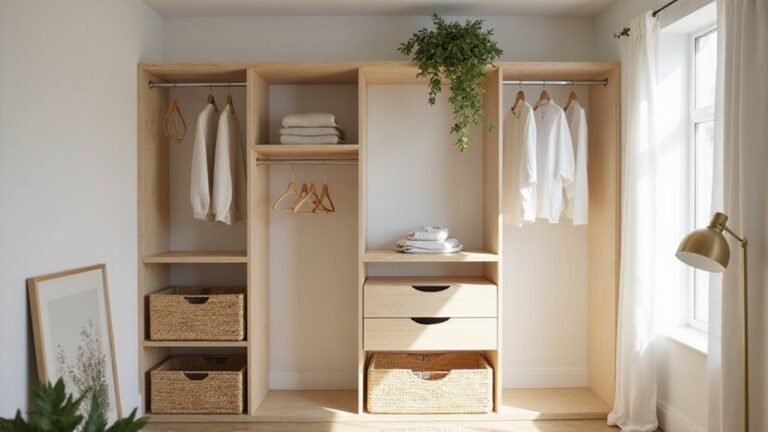
To maximize vertical capacity without sacrificing floor space, install a double-rod hanging system. Use the upper rod for tops and jackets, placing it about 6 feet off the ground. The lower rod is for pants or shorter garments, positioned around 4 feet from the floor. This setup doubles your hanging space for shorter items without requiring more square footage. For rooms with high ceilings, consider a pull-down rod that lowers to eye level, making upper racks more accessible. You can similarly use blackout curtain rods to mount lightweight shelves or organizers above windows to utilize otherwise wasted wall space. Using a budget-friendly approach with simple materials like basic lumber and standard brackets keeps the overall cost low.
Add retractable shelves or hanging organizers that clip onto existing rods to utilize vertical space efficiently. These accessories require no tools and can be easily moved or removed. Vertical rod extenders are also useful: they drop a second level, perfect for pants or children’s clothes. These renter-friendly solutions help keep your floor clear while expanding your storage upward. For a nursery, ensuring the system accommodates the standard crib mattress size helps maintain a clutter-free floor around the crib.
Sort Clothes and Plan Your DIY Closet Layout
Start by measuring your clothing items, including the longest dress and men’s shoes, to determine how much rod, shelf, and shoe space you need. This data ensures your closet can accommodate everything comfortably without overcrowding or wasted space. Count each item and note its dimensions so you can plan effectively. Remember that every inch of space matters when maximizing storage efficiency. Using pre-finished shelving boards can reduce your need for sanding and painting. You should also clean the fabric gently with a soft brush attachment to remove dust before building.
Sketch your closet walls on graph paper, blocking out corners and noting the measured dimensions. Use blue painter’s tape to map out rod heights and shelf depths on the actual wall. This visual aid helps you see how everything fits before you start building. Confirm you leave an extra 3 to 4 inches above the rods for hanger clearance to prevent clothes from snagging. For double-hanging rods, position the top at a minimum of 84 inches from the floor to maximize storage.
Group similar items into zones—long hanging, folded shirts, shoes—so your storage feels logical and accessible. When planning rod depth, aim for at least 22 inches to prevent clothes from getting crushed against the wall. Consider how quilts and coverlets differ in bulkiness to ensure your folded storage zones accommodate varying thicknesses of bedding or clothing. Adjust the tape layout as needed until it feels right, ensuring your plan is both functional and efficient before you begin construction.
Add Dividers and Hooks for Shoes, Belts, and Jewelry
Add dividers and hooks to maximize your organization. Felt dividers are ideal for pull-out trays, creating soft compartments that keep small accessories in place. These allow you to sort items by how often you use them, making daily essentials easier to access. Install tension rods with hooks to hang hats on large hooks and jewelry on smaller ones, which helps save space and keeps everything visible. For instance, candlesticks can serve as stylish holders for hats and headwear, eliminating the need for specialized hat holders. For those concerned about airborne dust on accessories, air purifiers work by trapping particles through HEPA filtration to keep stored items cleaner. A simple folding method can be applied to bedding to save space on closet shelves.
Repurpose picture frames into jewelry organizers by attaching hooks or corkboard sections. Mason jar lids can be mounted under shelves to hold earrings or rings securely. For vertical storage, cut flexible boards into strips and punch holes at regular intervals; then, slide hooks or pegs through them for versatile hanging options. You can also mount wire trays with hidden hooks underneath shelves to hold shoes or scarves without crowding your closet. Silk pillowcases offer gentle friction reduction, protecting delicate accessories from snagging during storage.
Keep in mind, you are still fine-tuning the drawer heights and choosing hinge styles for adjacent cabinets. Don’t finalize those details until you are completely satisfied with the way your accessory storage functions.
Build a DIY Closet System for Any Room Size
Start by measuring the back wall width, side wall depth, and total height of your space using a laser measurer for accuracy. From the back wall measurement, deduct 1 1/2 inches to account for side support thickness. This ensures your shelves will fit snugly without obstruction. Choose durable 1×3 boards for shelving supports and 3/4-inch plywood for the shelves themselves. Cut the supports to fit the top height of 84 inches and the bottom height of 76 inches, aligning with your room’s dimensions. Consider using budget-friendly materials like melamine-coated particle board as a cost-effective alternative to plywood for the shelves.
Install the supports into wall studs to provide sturdy anchoring for your closet system. Use pocket holes to assemble the central unit, which adds strength and stability to the structure. Secure the lower shelf to the supports, ensuring it is level and secure. After assembly, stress the importance of quick turnaround by completing the entire installation within a single weekend to achieve an immediate transformation. Position the entire unit centrally within your designated space for balanced access and appearance. Attach long shelves along the length of the unit, adding a support block to the wall if needed for extra stability. Before attaching shelves, ensure you locate wall studs to guarantee a secure mount.
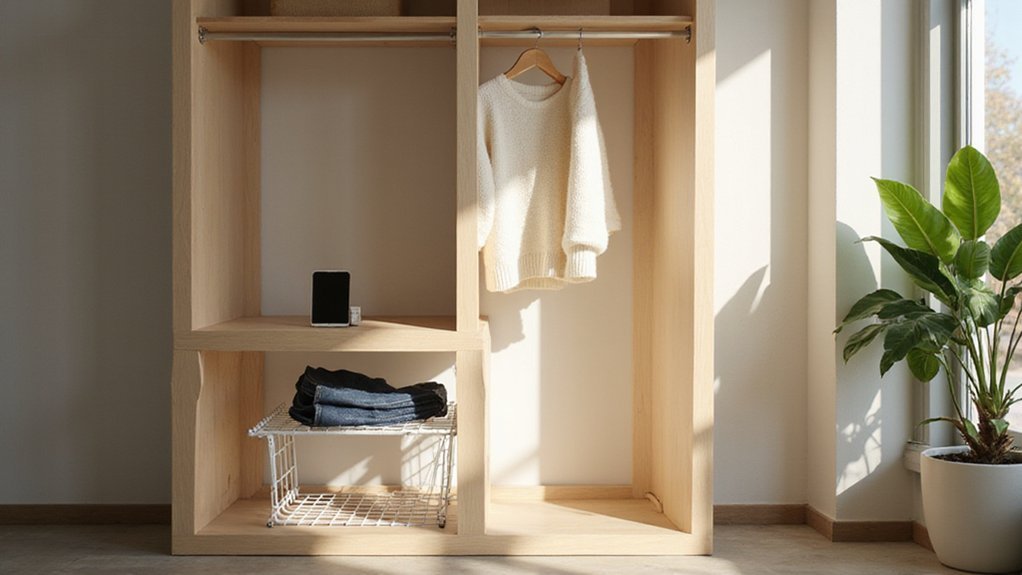
Leave the top and bottom open to maximize storage space and maintain airflow, preventing mustiness or mold. Finish by planning your color scheme to match the room’s decor, and consider adding lighting options such as LED strips to brighten the space and improve visibility. Proper planning and precision in measurements will help you create a functional, custom closet that fits any room size effortlessly.