Installing a curtain rod might seem straightforward, but getting it just right can make a big difference in how your space looks. To ensure your curtains hang evenly and securely, you’ll need to measure carefully and prepare your wall properly.
By the end, you’ll know exactly how to choose the right length, position your brackets for the best support, and hang your curtains without sagging or damage.
Keep reading for the full step-by-step guide to putting up your curtain rod with confidence.
Measure Before You Buy a Curtain Rod
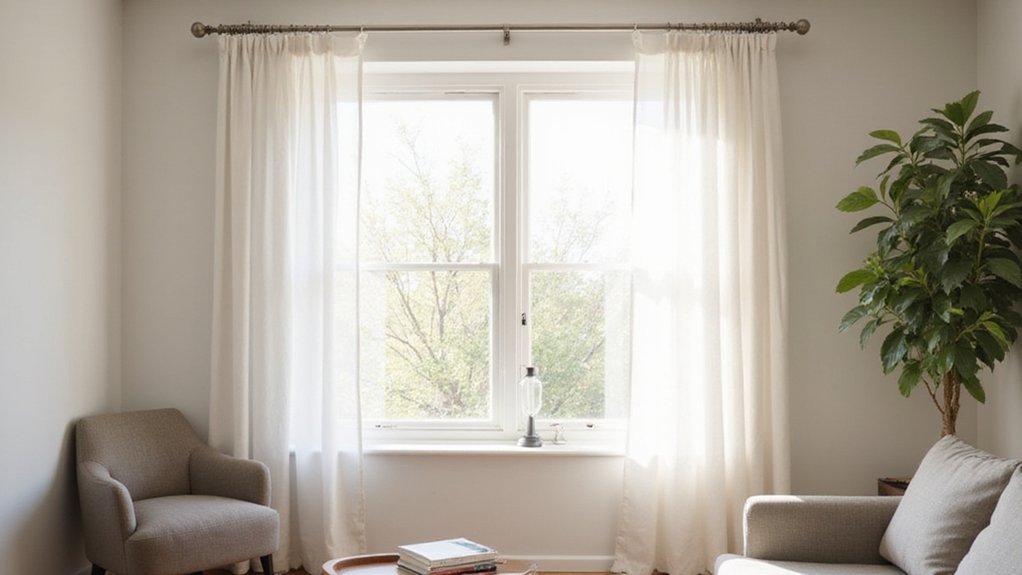
Measure your window carefully before purchasing a curtain rod. For an outside mount, add 16 to 20 inches to your window width to determine the correct rod length. This extra length accounts for the curtain stack, brackets, and finials, ensuring your curtains don’t block the window or look cramped. Measure three times to ensure accuracy, and use the largest measurement when mounting the rod. Keep in mind that heavier fabrics and wider curtain styles require more space, so adjust your measurements accordingly. When hanging the rod, mount it 4 to 6 inches above the trim to create the illusion of taller ceilings. Proper measurement helps you avoid common mistakes and guarantees your curtain will hang at the desired length, whether floor-length or just grazing the sill. For an inside mount, ensure your rod spans the window frame for a tidy look. If you are also considering a headboard project, note that budget-friendly tips for upholstered headboards often emphasize careful measuring to avoid waste. Following these steps ensures the curtain stack does not obstruct the glass when the curtains are fully open. For a dedicated makeup station, consider a top vanity review to ensure your surface and lighting measurements work well together.
Tools You Need for a Secure Curtain Rod Mount
To hang a curtain rod securely, you’ll need a few essential tools tailored to your wall material. For drywall, wall anchors are necessary to provide extra support, and a hammer helps tap them into place. If you’re mounting on wood or directly into studs, you can skip anchors altogether. Use a cordless drill paired with a drill bit set that matches your anchor size to make precise holes. A level ensures your brackets are perfectly horizontal, preventing sagging later on. To mark the drill depth and avoid over-drilling, place painter’s tape on the drill bit at the appropriate mark. A Phillips head screwdriver helps tighten the screws manually for a secure fit. For drywall, always pre-drill pilot holes slightly smaller than your screw diameter before inserting anchors. When choosing your hardware, keep in mind that bed platforms often provide a similar level of support at a lower cost than traditional frames, which can influence your budget for mounting accessories. For a more cost-effective approach, consider using basic shelving boards as a sturdy alternative for mounting brackets. To avoid common installation errors, check your levels frequently before fully securing the brackets, as this prevents misalignment.
For mounting on concrete or tiled walls, you’ll need masonry bits and specialized anchors designed for these surfaces. A stud finder helps locate solid framing behind the wall to maximize support. Don’t forget a step stool so you can reach high spots comfortably, and double-check your rod kit for all necessary screws and finials before beginning. Having the right tools and hardware ensures your curtain rod stays put and looks great for years.
Find Studs and Mark the Perfect Curtain Rod Height
To find studs and mark the perfect curtain rod height, start by locating the studs using an electronic stud finder. Calibrate the device on a clear section of the wall and slide it along until it signals a stud. Alternatively, for plaster walls, a strong magnet can detect lath nails. You can also look for visual clues such as electrical outlets or nail holes in baseboards, which often indicate the nearby location of studs. If a stud is not located at the planned position, drywall anchors provide a secure alternative for mounting without solid backing. A similar situation occurs when installing a window air conditioner, where the bottom sash often provides crucial support for the unit. For a cozy bedroom, using a duvet and cover simplifies bedding while maintaining a warm and stylish look. It is common to mount the rod at a height that visually extends the window.
For the best aesthetic result, mark the curtain rod height 4 to 6 inches above the top of your window frame. Use a level to ensure the marks for the brackets are even across the wall. Measure from the ceiling down to verify that both marks are aligned horizontally. When drilling, remember that walls with studs provide solid support, so aim for these when anchoring your brackets. Double-check all measurements before proceeding to ensure your curtain rod will hang evenly and securely.
Drill Pilot Holes: Add Anchors or Skip for Studs
Once you’ve marked the bracket locations, it’s time to drill pilot holes. Whether you add anchors depends on what’s behind the wall. If you hit a stud, skip the anchor installation entirely and drive shorter screws directly into the wood for a secure hold. For drywall, you need to drill pilot holes with the correct bit size based on the anchors you plan to use. For a setup reminiscent of a vanity with lit mirror, consider using decorative brackets that match the finish of your hardware. Understanding the standard twin mattress dimensions can help you pair the rod length with a similarly cozy bedroom layout. For a larger bed, be sure to check the queen mattress size to ensure your rod span offers balanced visual support.
Use a ⅛ inch drill bit for shallow holes to prevent blow-outs. If necessary, switch to a 3/16 inch or ¼ inch bit for larger anchors. Gently tap the self-drilling anchors flush with the wall; pre-drill just deep enough so screws can be guided smoothly. Be careful not to over-tighten, as this can strip the threads and weaken the hold. For hollow walls without a stud behind, tapping the Molly anchors into the wall with a hammer ensures the expansion braces hold tightly.
Mount the Curtain Rod Brackets Level First
Move to the second bracket and position it at the same height as the first. Use your level across both brackets to ensure they are in the same horizontal plane. Adjust the brackets as needed until the bubble in the level is centered. Once aligned, mark the screw holes with a pencil before fastening. For wider windows, install additional support brackets, checking each for level accuracy. It is essential to follow manufacturer instructions for proper bracket placement. After all brackets are securely attached and perfectly aligned, you are ready for the next step, remembering that your pilot holes require drywall anchors inserted flush against the wall for stability. For stable mounting, it helps to ensure the wall surface is clean and free of debris, similar to how a heat source must be steady for a lava lamp to function properly. You can also adapt budget-friendly tips from building a storage bin rack to save on curtain rod supplies.
Attach Curtains to the Curtain Rod Before Hanging
Slide your curtains onto the rod before hanging it on the brackets. This step simplifies installation and prevents unnecessary strain on the hardware. For rod-pocket curtains, thread the rod directly through the fabric pocket first. If you have grommet or pinch-pleat curtains, insert rings onto the rod before hooking the panels to them. Consider your fabric type: heavier materials like velvet may require extra support to prevent sagging, while lightweight sheers slide easily onto the rod. Match your curtain rod color to your décor—dark rods with light panels create contrast, whereas matching tones offer a seamless appearance. When using double rods, hang the inner curtain on the secondary rod first, then attach the outer curtain to the primary rod. For grommet curtains, slide the rod through the large metal rings sewn into the fabric top, ensuring everything is level before lifting the assembly onto the brackets. Ensure that for functional coverage, the curtain panels extend to cover twice the window width. For optimal lighting versatility, consider using a three-way bulb in nearby lamps to complement your curtain setup. A key measurement is to measure from rod to floor to confirm the rod height, as expert advice suggests this distance prevents dragging. For a budget-friendly alternative, you can insert a blackout lining behind the curtain fabric to enhance light blocking without purchasing specialized panels.
Lock the Curtain Rod in Place With Set Screws
To lock your curtain rod in place, begin by locating the set screw on each bracket—usually positioned on the side or at the finial base. After sliding the rod fully into the bracket, ensure the bracket is properly aligned before tightening. Use the provided Allen wrench to tighten each set screw, applying firm resistance without overtightening, which can strip the threads. For brackets with a finial base set screw, gently tighten by hand. If your setup includes connectors, drive the self-drilling set screw through the pilot hole to secure the angles. Before finishing, double-check the alignment of all brackets by eye. Once all screws are tightened, gently tug on the rod to verify it doesn’t shift. This method secures your curtain rod firmly in place without adjusting the curtains themselves. For added stability, choose brackets wide enough to support the rod without sagging under the weight of your curtains.
Adjust Curtains for a Straight, Secure Setup
Once the rod is securely locked in place, focus on straightening the curtains to ensure a tidy appearance. Start by ironing or steaming the fabric to remove any wrinkles, which creates a smooth, polished look. Next, hang the panels carefully using specific techniques to train the fabric into neat, straight folds. Steam the panels again once they are hung to relax the fibers further. Ensure the curtain panels are 1.5 to 2.5 times the window width for fullness and aesthetic appeal. Then, arrange the top of each panel into five soft folds, pressing each fold down smoothly to the bottom with your hands. To set the shape and encourage the folds to hold, loosely tie twine around the bottom of each panel. Leave the twine in place for three to four days. This method of training fabric folds is similar to easing tension after installing a light fixture. Using a humidifier nearby can maintain consistent moisture levels in the room, which helps prevent static electricity from disturbing the curtain fabric and keeps folds crisp. This method helps the fabric remember its intended shape, resulting in a straight, secure setup that minimizes sagging and maintains alignment over time. Skipping this step can lead to uneven draping and the need for frequent adjustments.
Three Mistakes That Make Curtain Rods Fall
Three common mistakes can cause curtain rods to fall. First, skipping intermediate support brackets on wider spans is a major error. Without these brackets, the rod can bow under the weight, leading to sagging and eventual detachment. To avoid this, install support brackets at regular intervals—generally every 3 to 4 feet—especially on larger windows. Second, choosing anchors based solely on convenience instead of matching them to your wall type risks failure. Drywall anchors work for light curtains, but if your walls are plaster or masonry, you’ll need specific masonry anchors or toggle bolts for proper hold. Third, relying on your eye for alignment rather than a level can cause crooked rods. A level ensures your curtain rod stays straight, providing even coverage and a neat appearance. To prevent all three issues, measure carefully, always use a level, and select appropriate anchors based on your wall material.
All Anchors Must Sit Flush Against the Wall
To ensure your anchors hold properly, they must sit flush against the wall. If an anchor protrudes even slightly, your screw may not tighten fully, causing your rod to wobble or fall. Begin by matching your anchor type to your wall material—whether drywall, masonry, or plaster. For plastic anchors, gently tap them with a rubber mallet until the collar is flat against the wall, listening for a solid “thud” to confirm proper seating. With molly bolts, insert the tip and pull the plastic outward until the metal part fits snugly inside the wall. Use a screwdriver, not a drill, to tighten, and stop once the anchor is flush. Overdriving can damage the wall or the anchor. Afterward, snap off any excess plastic if needed. Finally, tug lightly to check stability before hanging your rod or object.