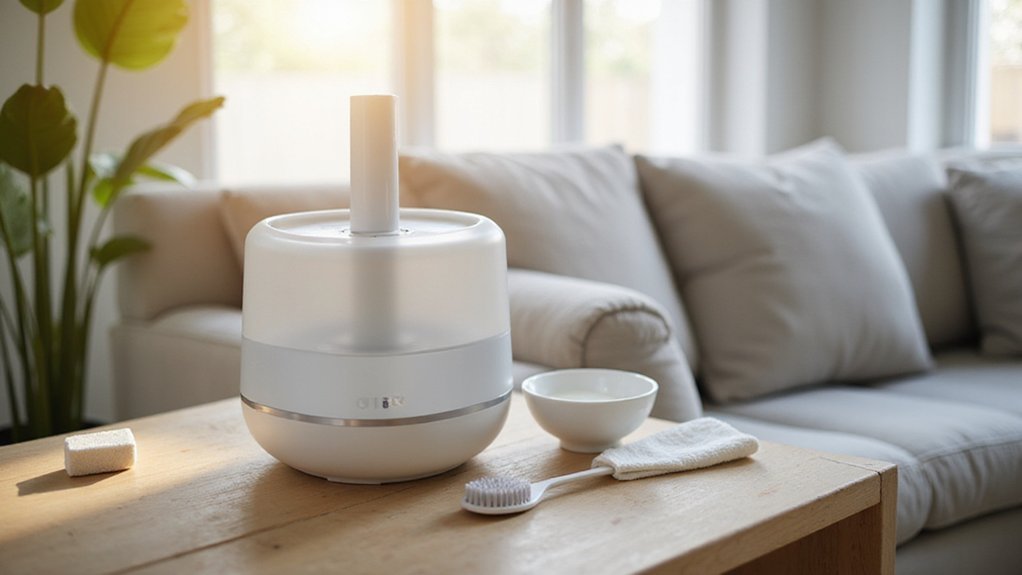
If you’re wondering how to keep your humidifier clean and safe to use, you’re in the right place. Proper cleaning helps prevent mold, bacteria, and mineral buildup that can affect air quality and your health.
By following simple steps like disassembling parts, soaking mineral deposits, and disinfecting thoroughly, you can keep your humidifier functioning well and running smoothly.
Keep reading for all the details on how to do it right.
Disassemble Your Humidifier and Remove the Filter
Always unplug your humidifier before disassembling it to ensure electrical safety and protect sensitive components. Once unplugged, remove the water tank lid and then carefully pull out the cotton wick or filter. For Dyson AM10 models, detach the UV light module second. On Life brand units, push one side and then pull to release the tabs without twisting. For steam humidifiers, lift the tabs using a screwdriver to open the internal chambers. Keep the base dry at all times; do not submerge it to avoid short circuits. Before reinstalling the wick, wet it thoroughly, as running it dry can damage internal parts. Squeeze out excess water using a paper towel, facing any crevices downward to prevent water from entering internal areas. Afterward, you can focus on accessing and cleaning the internal chambers to ensure proper maintenance. The electrode chamber on a Life humidifier often becomes clogged with calcium deposits from limestone, which reduces performance and requires periodic scrubbing. For long-term care, consider replacing the filter with a microfiber alternative if you prefer a material that resists bacteria growth more effectively than standard cotton wicks. To prolong the lifespan of your humidifier, ensure your unit sits on a flat and stable surface that allows proper airflow, similar to how a queen mattress requires a sturdy foundation for optimal support. As with any appliance installation, avoid common installation mistakes such as securing the unit too tightly, which can warp the frame.
Gather White Vinegar, a Soft Brush, and Bleach
Remove the filter and ensure the base stays dry before cleaning. Gather white vinegar, a soft brush like an old toothbrush, and bleach. Use a 50/50 vinegar-water mixture to loosen mineral deposits inside the humidifier tank. To disinfect, dilute one teaspoon of liquid chlorine bleach per gallon of water. Never mix vinegar and bleach directly, as combining them creates toxic chlorine gas, which is dangerous. Clean the base with a soft brush and vinegar, then rinse thoroughly to prevent damage from residue. Use the soft brush dipped in full-strength vinegar to scrub small areas such as the tank cap and corners. Allow the bleach solution to sit inside the tank for 15 to 20 minutes to effectively kill bacteria and mold. Rinse all parts thoroughly until the bleach smell is gone, ensuring no residue remains. Always unplug the humidifier before applying cleaning solutions to prevent electrical hazards and ensure safe cleaning. Proper preparation with these materials helps disinfect effectively without damaging components.
Remove Mineral Buildup With Vinegar Soaks
To remove mineral buildup, fill the tank with a mixture of equal parts white vinegar and water and let it soak for at least 30 minutes. For severe deposits, extend the soak time to several hours or overnight. The weak acid in white vinegar dissolves the chalky mineral scale without damaging the unit. If you don’t have vinegar, you can use alternatives like citric acid powder or lemon juice mixed with water. After soaking, use a soft-bristled brush to gently scrub crevices and remove any remaining deposits. Rinse all parts thoroughly with fresh water to eliminate any acidic residue. To prevent future mineral buildup, consider using distilled water instead of tap water in your humidifier. For a more thorough approach, disassemble the unit to access hidden mineral deposits in hard-to-reach areas. Regular soaks help keep your unit running efficiently and extend its lifespan. If mineral deposits persist after the initial attempt, repeat the cleaning as recommended by the vinegar method. For best results, apply the same level of patience you would use when removing air bubbles from newly installed tinted film. This same acidic treatment works well for loosening chunky blanket fibers stuck in crevices during hand washing.
Scrub Stubborn Gunk From Seams and the Nebulizer
To scrub stubborn gunk from seams and the nebulizer, start by soaking the parts in vinegar for at least 20 minutes. This loosens mineral deposits and softens buildup. Use a soft-bristled toothbrush to gently scrub tight seams where residue tends to stick. For narrow crevices, a pipe cleaner works best to reach into hard-to-access spots. A cotton swab is ideal for delicate surfaces on the nebulizer, allowing precise cleaning without damaging sensitive parts. Dip each tool into your vinegar solution before scrubbing to boost its cleaning power. Focus on chalky white deposits, agitating them with a bottle brush inside the tank base. For stubborn grime, consider storing your cleaning supplies on easy DIY closet shelves to keep tools organized and accessible while you work. Understanding what a comforter is can help you choose bedding that complements a cozy bedroom after cleaning. After scrubbing, wipe everything down with a damp paper towel to remove residue. For those who also need a durable surface to place their cleaned humidifier, consider pairing it with a top platform bed frame that offers sturdy support for electronics. Let all components air dry completely before reassembling to prevent moisture from causing mold or mineral buildup again.
Disinfect Parts With Bleach or Hydrogen Peroxide
To disinfect parts effectively, mix either a CDC-recommended bleach solution or 3% hydrogen peroxide. Use one teaspoon of liquid chlorine bleach or hydrogen peroxide per gallon of cold water. Pour half to three-quarters of this solution into the water tank, ensuring it coats the interior and base thoroughly. Let the solution sit for 15 to 20 minutes to kill bacteria and germs. Submerge removable parts like the tank cap in the solution as well. Follow safety precautions: never mix bleach with other cleaning agents, work in a well-ventilated area, and wear gloves if needed. After the disinfection period, rinse all parts thoroughly before reassembling. Always disinfect the humidifier before storage to prevent mold growth. Additionally, note that polyester sheets may trap moisture differently than cotton, which can affect how frequently you need to clean your humidifier.
Rinse Everything Thoroughly With Clean Water
After disinfecting, thoroughly rinse all parts with clean, warm water to remove any remaining bleach, hydrogen peroxide, or vinegar. The temperature of the water is important: warm water helps dissolve leftover residues more effectively, but avoid hot water as it can warp plastic components or damage sensitive internal parts. For the tank, swirl warm water inside and press the valve to flush out internal connections. Repeat this rinsing process several times until no odor lingers. For the base, fill it halfway with water, agitate to loosen residues, then empty it while keeping the motor housing dry. Wipe away vinegar residues with a damp microfiber cloth, paying special attention to seams and corners—use a soft brush for stubborn spots. Rinse smaller parts thoroughly under running water. Ensure no cleaning solutions remain hidden in crevices to prevent microbial growth. Similar to ensuring there is no hidden debris after tension-mounted brackets are removed from a window frame, you must check that no residue gets trapped. Before proceeding, double-check that the tank is visibly clean and odor-free. Consider reviewing top vanity reviews to ensure your setup remains in pristine condition alongside your humidifier.
Air-Dry All Components Fully Before Reassembly
Ensure every component is completely dry before reassembling your humidifier. This prevents moisture from encouraging bacteria growth and mold development. Use effective drying techniques like placing parts on a clean, lint-free towel, spacing them apart to allow maximum air circulation. Position the water chamber upside down to drain any trapped water. Leave all parts to air dry for several hours, with overnight drying being ideal. For a similar commitment to quality in your beauty space, consider how top vanity mirrors ensure optimal lighting for perfect routines. Proper drying protects respiratory health, especially for COPD patients. When handling electrical parts, follow a clear step-by-step approach to ensure no moisture remains in connections.
First, gently shake off excess water from each component. Wiping down parts with a microfiber towel can speed up the drying process. Remove tank caps to allow air to reach internal surfaces that might trap moisture. This method is similar to how comforter and duvet care routines vary to maintain proper hygiene and performance. Skipping thorough drying can lead to mold and biofilms inside the unit, which can harm your system.
Always confirm that all components are fully dry before reassembling. Any residual moisture can damage the motor and electrical parts, reducing the humidifier’s lifespan and efficiency. Ensuring complete dryness guarantees safe, reliable operation once reassembled.
Maintain Your Filter to Prevent Future Buildup
To prevent future buildup, regularly maintain your filter by removing it every time you turn off the humidifier and allowing it to dry immediately. After removing the filter, run the unit for an hour without water to ensure it dries completely. Keep the dry filter in a well-ventilated area away from moisture. To control mineral deposits weekly, gently swish the filter in cold water to loosen buildup without damaging the antimicrobial coating. Avoid using bleach or harsh chemicals, as they can destroy the coating and pose breathing risks. Instead, soak the filter in a citric acid solution for deep mineral removal when necessary, but only if it isn’t due for replacement. For severe mold issues, use bleach sparingly and be sure to rinse thoroughly afterward.