Thinking about making your first quilt can feel overwhelming, but it’s easier than you might think once you know the basics.
Starting with just a handful of coordinated fabrics and simple cutting and sewing techniques, you’ll be able to create a beautiful quilt from scratch.
By the end of this guide, you’ll understand each step, from selecting fabrics to finishing your quilt with a professional look.
Let’s walk through the process so you can confidently begin your quilting journey.
Materials and Quantities for Your Beginner Quilt (42 Squares, Batting, Backing)
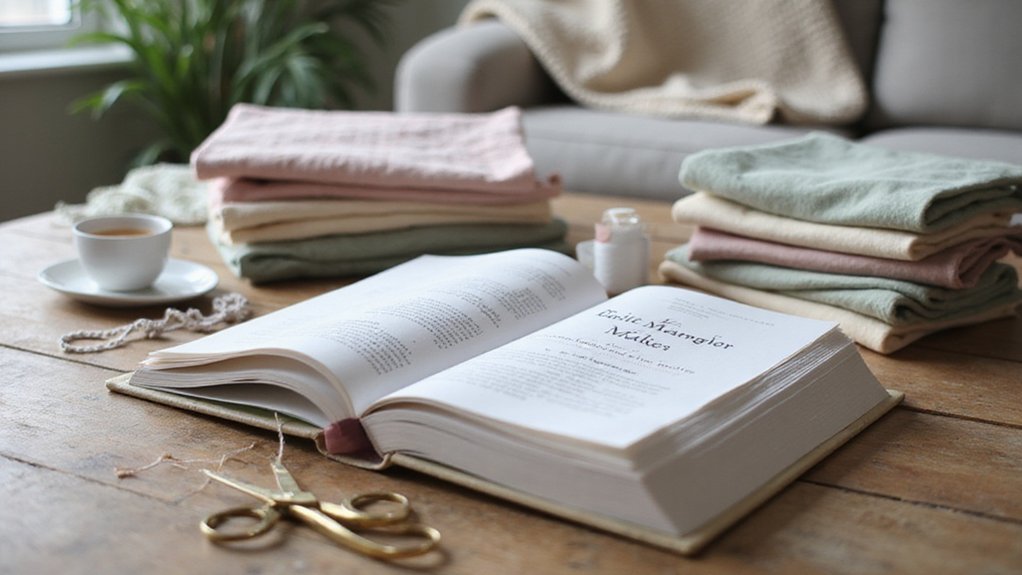
To make 42 five-inch quilt squares, you will need about half a yard of each fabric. Each ½-yard strip typically yields eight squares, so selecting 5-6 fabrics allows you to easily cut all your pieces without waste. Choosing a well-coordinated color palette will give your quilt a cohesive look. For batting, plan on one meter of 42-inch-wide material, which provides enough coverage for the quilt top. Cut your batting to approximately 38 inches wide to fit your finished quilt size. For a cost-effective approach, use budget-friendly tips like substituting plywood for a cutting surface if needed. Make sure to select water-resistant materials for any rack near the door to protect your supplies from moisture. The backing fabric should be the same length as your batting for even coverage. A standard home sewing machine is sufficient for quilting this size, but consider your machine’s capabilities beforehand. For borders, measure your quilt’s dimensions and cut half a meter of fabric. For binding strips, settle on a quarter meter of fabric, which will yield enough strips for the quilt’s edges. Essential tools include a rotary cutter, cutting mat, neutral-colored thread, and pins. Press each seam flat as you sew to achieve a professional, smooth finish. Use a consistent quarter-inch seam allowance for accurate piecing. This 38-inch width matches the thickness of a standard queen mattress to ensure proper coverage.
Cut Your Fabric Into 42 Five-Inch Squares for the Quilt Top
To cut your fabric into 42 five-inch squares, start by preparing your fabric with starch and pressing to remove wrinkles and stabilize the fibers. Fold each fabric with the selvage edges together and press to ensure smoothness. Align your ruler’s short side along the selvage edge and cut a straight, clean edge. Rotate the fabric 90 degrees and make a second cut to create a perfect square corner. Next, cut a 5-inch wide strip across the fabric, trimming off the selvage end. Buying pre-cut charm packs saves time and ensures uniform size for beginners. Ensure your workspace is clear of debris, as a stable surface prevents slipping and improves accuracy. For the down comforter, you can also apply a similar washing method by using a gentle cycle and low heat to protect the fill. Understanding the fill power of your duvet insert helps you choose the right warmth level for your bedroom setup.
Position this strip lengthwise, lining up your ruler’s vertical 5-inch line with the left straight edge of the fabric. Cut along the ruler to make a 5-inch square. Keep sliding the ruler down the strip, each time lining up the 5-inch mark to cut out subsequent squares. Repeat this process until you have 42 squares. Pay close attention to fabric print direction if you want consistent pattern alignment across your squares. Folding the fabric in half can help you cut two squares at once, saving time and fabric. Focus on precise measurements for accuracy, especially if your pattern matching depends on it.
Sew With a ¼-Inch Seam Allowance and 2.2–2.5 Stitch Length
Check your machine’s settings before sewing your first seam. Set the stitch length between 2.2 and 2.5 and ensure a ¼ inch seam allowance. Accurate seam allowances are essential because they guarantee your blocks match the pattern precisely. Use a ¼ inch presser foot for consistent stitching, but also verify the needle position. Cut three strips that are 1 ½ inches wide, sew them together, and press the seams open. The center strip should measure exactly 1 inch; if it doesn’t, adjust your guide accordingly. Using a slightly scant ¼ inch seam—just inside the marked line—often helps prevent blocks from growing too large. Maintaining the stitch length within the specified range keeps your stitches secure and makes unpicking easier if needed. Test your settings on scraps until your seams come out just right. Precise seams now will save you hours of frustration during later assembly. Testing and verifying seam allowances before relying on them is essential to avoid inaccuracies.
Join Rows Together and Press Seams in Alternating Directions
To join rows together and press seams in alternating directions, start by nesting the seams between each row. Place the top row right sides together with the next row, and pin at every seam intersection to prevent shifting. Be careful not to let fabric bunch between nested seams. Sew with a consistent ¼ inch seam allowance, approaching pins slowly, and remove them just before the needle passes through. Ensure the seams are nesting tightly with no gaps by feeling them snug before pinning. For a similar gentle care approach, consider using a gentle cycle setting when machine washing your finished quilt. You can also use wooden hangers to store your quilt tops without causing creases.
After sewing each joint, press the seams in the first row to one side. Press the seams of the following row in the opposite direction. Alternate the pressing direction with each new row. This technique helps reduce bulk and keeps the quilt flat, making the final binding easier. For a smooth finish, consider how microfiber vs. cotton sheets differ in cost and comfort if you plan to use a sheet as backing.
Use quality quilting threads for durability, and press each joined row first on the wrong side, then on the right side. This ensures a smooth, flat assembly. Repeat these steps for all rows to create a neat, flat quilt top.
Nest Seams for Crisp Corners When Attaching Rows
Nest seams for crisp corners by nesting the seams of adjacent rows before stitching. Place two rows right sides together, aligning their raw edges precisely. Slide them until you feel a slight click—that’s the seam allowances fitting together perfectly. Pin the intersection securely to hold the layers in place. Accurate seam allowance measurement is essential; keep the seam consistent at ¼ inch to ensure proper alignment. Seams should be aligned to facilitate precise nesting. A full mattress offers a wider sleeping surface than a twin, making it better for solo adults who need more room. A queen mattress adds even more extra side space for couples or those who move while sleeping. Unlike ultrasonic models, evaporative humidifiers use a wick filter that naturally absorbs and releases moisture.
When sewing, pause briefly at each nested seam to lock them in place. Avoid sewing over pins; instead, remove pins as you approach the seam for cleaner stitching. Keep the fabric folds right against the needle for accuracy. After stitching, set the seam by gently running your iron over it without sliding it back and forth. Then press the seam either open or to one side, depending on your project’s needs. Always double-check the nesting by rolling back the top fabric and feeling for a snug fit without gaps. Open the pieced sections, admire the sharp corners, and press the seams in your preferred direction for a polished finish.
Layer Your Beginner Quilt Sandwich: Backing, Batting, and Basting
Apply basting spray evenly from about 8 inches away, working in quarters starting from the center and moving outward. Spray each section in a small area at a time to avoid oversaturation. Next, lay your quilt top with the right side up, positioning it in the center of the backing and batting layers. Fold the quilt top in thirds toward the center, spray the exposed sections lightly with basting spray, then smooth them out carefully to prevent wrinkles. Use a dry hot iron, with parchment paper if necessary, to press the layers together without steam. Avoid using steam directly on the layers to prevent shifting or damaging the batting. When finished, your quilt sandwich should be securely bonded and ready for quilting. Because polyester batting has high loft, it makes the quilting stitches stand out more and appears puffier. For long-lasting results, always clean your workspace with mild detergent and water afterward to avoid residue buildup. For precise adhesion without overspray, you can use a masking tape border around the workspace before applying the spray. For a cozy alternative, consider that heated throws offer a similar warmth during the basting process.
Quilt, Square, and Trim the Finished Beginner Quilt Top
To square and trim your finished quilt top, start by using a large square ruler on a corner, placing it against a long straight ruler. Position the ruler so that a line aligns with a seam that runs parallel to the edge you want to straighten. Hold your rotary cutter tightly against the ruler and carefully cut from the edge, ensuring a straight line. Rotate the quilt 90 degrees, then align the newly cut edge with a cutting mat line. Use the ruler to trim the next side, maintaining accuracy for a perfectly square top. For a clean finish, make two trimming passes to remove excess backing and batting before final squaring.
Next, fold the quilt in half diagonally to check if the widths on each side match. If the measurements differ by less than 1/2 inch, trim the border to the larger measurement to keep your quilt looking neat. Always work slowly to avoid uneven cuts and double-check your measurements before trimming. Remember to cut one corner at a time and keep trimmed pieces out of your way to prevent confusion or accidental re-cutting. Properly squared and trimmed quilt tops will lay flat and make sewing borders or finishing much easier.