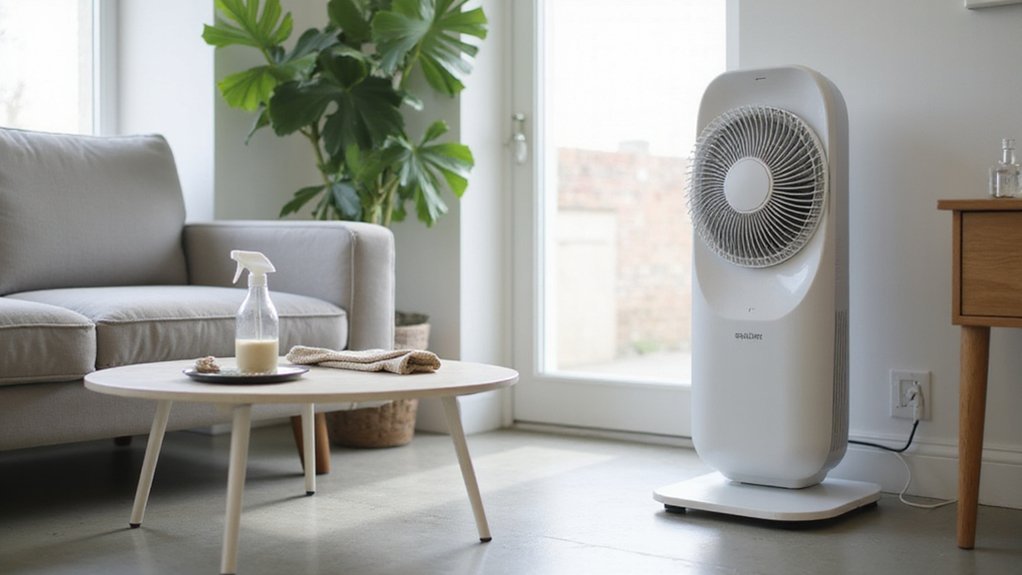
If your tower fan is collecting dust or isn’t working as smoothly as it used to, cleaning it properly can make a big difference.
Knowing how to clean all parts—from the exterior to the blades and filters—can help keep it running quietly and efficiently.
By the end of this guide, you’ll be able to safely wipe down, deep clean, and reassemble your fan, ensuring it stays in top shape all season long.
Let’s get started with the simple steps to give your fan a thorough refresh.
Unplug the Fan and Move It Outdoors Before Cleaning
Unplug the fan and move it outdoors before cleaning to prevent electrical shock and contain dust. Start by disconnecting the power cord from the wall outlet; this ensures no power runs through the unit while you work. Carefully lift the fan to prevent damage, and place it on a stable outdoor surface. If the fan has water-resistant features, you can rinse the rear grille directly without fear of floor damage or water seeping inside. Wearing protective gloves is recommended to protect against sharp edges. Moving the fan outside limits dust dispersal inside your home and allows you to use compressed air or a vacuum hose attachment more effectively to remove stuck dust particles. Always verify that the fan is completely powered off before handling any internal components. Adhering to a regular cleaning every 2 months prevents circulating musty air and keeps the fan operating efficiently. For larger or more complex fan assemblies, checking the mattress size of your workspace can ensure you have enough room to lay out all parts without obstruction.
Wipe the Exterior and Vents Without Spreading Dust
Once the fan is unplugged and moved outdoors, you can carefully wipe the exterior and vents without spreading dust. Use a microfiber cloth dampened lightly with water—just enough to pick up dust without causing moisture issues. Wipe all outer surfaces, including the top, sides, back, and front grille, to remove residual dust. For the control panel and buttons, opt for a dry or barely damp cloth to prevent water from damaging sensitive components. Immediately dry all surfaces with a clean, dry cloth to avoid water spots. Be cautious not to let water enter the vents, as this could harm internal parts. For sticky spots, add a tiny drop of mild soap to the cloth. For tight gaps around buttons, use a cotton swab to get into small crevices. After cleaning, turn the fan on high speed for a few minutes to blow away any remaining dust inside the vents and grille. This method helps avoid common installation mistakes like moisture damage to internal electronics.
Remove the Rear Grille and Base for Deep Cleaning
To remove the rear grille and base for deep cleaning, start by unplugging the fan to ensure electrical safety. Check your model’s manual for the exact locations of screws or clips. Use a screwdriver suited for Torx or standard screws, and have a vacuum with a hose attachment ready. Begin by removing the screw located at the top or bottom of the rear grille. Gently pull the grille away, being careful not to tug on any connected wires.
For the base, determine if it slides off or if securing screws and a collar need to be removed. If screws are involved, unscrew them with the appropriate tool. If the base is held in place by locking tabs, pry them apart carefully with a plastic pry tool or your fingers to avoid damage. Lift the base outward, making sure no cables or wires are trapped during removal. Vacuum dust from internal components while the grille is off to improve fan efficiency. Just like with perfect sweater hangers, careful handling prevents common mistakes during disassembly. Keeping internal parts dry is as important as using gentle cleaning methods for any home appliance. An air purifier typically uses multi-stage filtration to remove particles like dust and pollen from the air.
Once removed, rinse the rear grille under water or wipe it down with a damp cloth. Dry all parts thoroughly before reassembling to prevent any moisture from causing electrical issues later. Proper cleaning and drying help maintain your fan’s performance and longevity.
Vacuum Internal Blades and Tight Corners Thoroughly
Remove the rear grille and base to access the internal components. Use your vacuum’s brush attachment to dust the blades and vents thoroughly, moving it lengthwise for best coverage. Don’t rely solely on suction; apply compressed air in short bursts, directing it diagonally into the front vents to loosen debris behind the blades. For fine cleaning, use a dry paintbrush to loosen dust from hard-to-reach spots. Cotton buds or a chopstick wrapped in a cloth are effective for cleaning tight corners around motor brackets and inside the housing. Finish by wiping any stubborn grime with a slightly damp cloth, ensuring no moisture is near electrical parts. Before reassembling, verify everything is completely dry to prevent issues later. Apply the same thoroughness when cleaning tight corners to avoid missing debris in hard-to-reach areas, as proper positioning is key to effective maintenance. Think of this maintenance as similar to following a beginner quilt pattern where careful attention to detail ensures a successful outcome. Using budget-friendly tips such as repurposing household items for your cleaning tools can save money while achieving thorough results.
Wash or Replace the Tower Fan Filter by Type
Deciding whether to wash or replace your tower fan filter depends on the type of filter you have. For polyester filters, you can wash them with lukewarm water and mild detergent. After washing, never dry with heat; instead, let them air dry completely before reinstalling. Non-washable filters, like True HEPA or activated carbon filters, require scheduled replacements. Control of moisture is a key factor in preventing mold growth. Replace HEPA filters every 6 to 12 months, depending on usage and air quality. Proper ceiling light visibility is unrelated to fan maintenance, but ensuring your tower fan filter is clean can improve overall air circulation in the room. Regularly clean pre-filters about once a month to extend their lifespan. Avoid HEPA-type filters because they do not meet the 99.97% particle capture standard. Never reinstall a damp filter, as this can damage your fan’s components. Keep a spare filter on hand if drying takes longer than expected. For those choosing bedding accessories, considering down comforter comfort may help you select a cozier sleep environment. Always check the filter’s rating before cleaning or replacing to ensure you’re using the correct type.
Reassemble Every Part and Test for Quiet Operation
After cleaning or replacing the filters, reassemble all parts and test for quiet operation. Begin by ensuring the back cover aligns correctly: match the clips precisely with the fan housing slots. Push firmly until you hear a click, confirming that no gaps remain. Reinstall all screws, but avoid overtightening, which can crack the plastic. Before fully tightening all screws, assemble partially to test operation.
Next, lubricate the motor. Apply a small amount of oil to the pivot point near the motor shaft and into the bottom bearing. Rotate the shaft manually to help distribute the lubricant evenly across the moving parts. Unlike a desk fan, which prioritizes quietness over storage, a tower fan’s upright design often requires more careful alignment during reassembly to avoid rattling. For a quieter option, cotton sheets are often preferred over microfiber for their breathability and softness, though this does not affect fan assembly.
Reconnect the internal wiring, making sure the wire cuts align with the housing marks. Secure the wiring with the tie clip to prevent movement. For a cozy bedroom setup, place the fan a few feet away from your full mattress to avoid direct drafts while maintaining good airflow.
Finally, plug in the fan and turn it on. Listen carefully for any grinding or rattling sounds. If the fan does not start spinning, gently assist it to start turning. Ensure the fan runs smoothly and quietly before completing the repair.