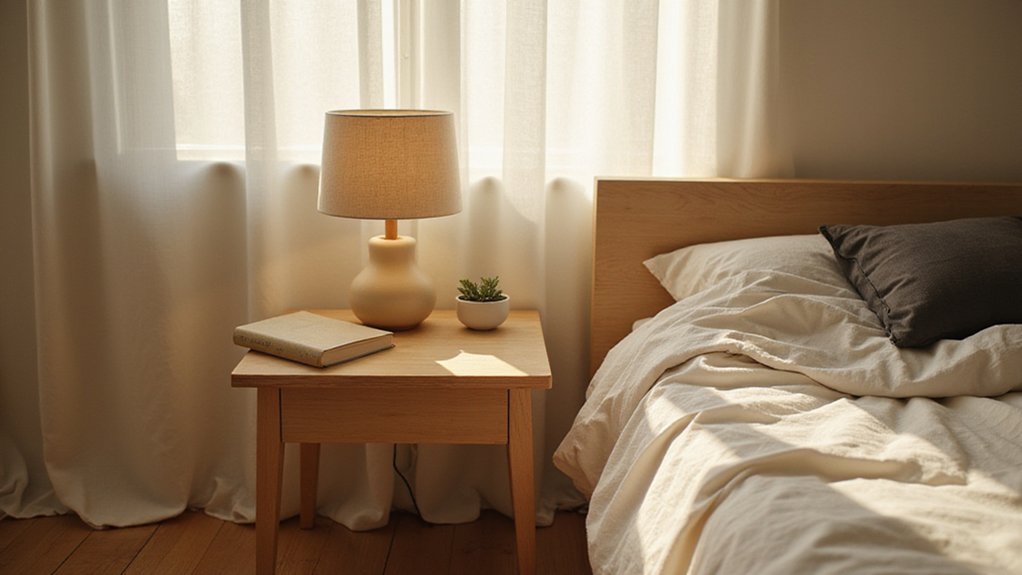
Building your own bedside table can save you 40 to 60 percent compared to buying one in store. Plus, you get to choose the size, style, and materials that fit your space perfectly.
With simple woodworking techniques, you’ll create a sturdy, custom piece that matches your mattress height and room decor.
Keep reading for step-by-step instructions to cut, assemble, and finish your table.
Why Build Your Own Bedside Table?
Building your own bedside table can save you 40–60 percent of retail costs by eliminating labor fees and using tools you already own. Instead of paying for new furniture, you can leverage reclaimed wood or leftover plywood from previous projects, which promotes sustainability and reduces waste. Custom sizing ensures your table fits perfectly within your space, a standard queen mattress measures 60 inches wide by 80 inches long, allowing you to match your bedside table height precisely to your bed frame. Avoiding the expense of oversized furniture that won’t suit your room. For a sturdy build, you can double panels of 21mm shutter ply for a chunky industrial look and use a dark burnt brown stain for consistent style. You can also reference top body pillow reviews to help you choose a bed pillow that complements your new bedside table height for optimal comfort. Following the same care principles, machine washing your down comforter safely ensures fresh, long-lasting bedding that pairs well with your handmade furniture.
Beyond cost savings, building your own bedside table offers complete control over quality. You can select materials resistant to warping, reinforce joints for durability, and finish it to match your style. This results in a durable, personalized piece that aligns with your mattress height and room dimensions, making it stronger, smarter, and more affordable than store-bought options—all in your hands.
What Tools and Materials Do You Need?
You will need a specific set of tools and materials to build your own bedside table. For lumber, gather 2x2s, 1x6s, and quarter-inch plywood, along with two 20x40x3 cm planks for the top surface and four 3x5x50 cm planks for the legs. Pallet board slats can serve as side panels if you prefer a rustic look. Essential fasteners include 1-¼ and 2-½ inch pocket screws, wood glue, and figure 8 fasteners for added stability. Add decorative drawer pulls to enhance the aesthetic, and consider upholstery fabric if you plan to include a padded front. You must also cut the legs with a taper and a 16¾° angle at the top, as determined by a life-sized drawing. Additionally, review common mistakes from a window unit guide to avoid misaligning your frame. For a smaller space, considering queen mattress dimensions can help ensure your bedside table height aligns comfortably with your bed.
Power tools are crucial for efficiency and precision. A miter saw and table saw will help cut your materials accurately, while a pocket hole jig simplifies joinery. Clamps are necessary to hold pieces steady during assembly. Don’t forget a level to ensure your table is perfectly aligned, chisels for detailed work, and sandpaper up to 220 grit for a smooth finish. Finish your project with low-VOC polyurethane or hardwax oil to protect the surface and add a polished look.
Cut Plywood Panels and Side Panels
To cut plywood panels and side panels for your project, use a circular saw with a blade that has at least 40 teeth. This ensures cleaner cuts with minimal splintering. Choose plywood with a factory edge that is straight and free of defects; this will serve as your reference for accurate measurement. Support the sheet on 4×4 blocks to prevent sagging and maintain stability while cutting. Also, measure the height of your bed frame to ensure the bedside table matches for optimal comfort. Measure and mark your cut lines on both sides of the panel, using a square to ensure the lines are perpendicular. Align a straightedge guide along the waste side of your mark and secure it with clamps. Set the saw blade depth so it extends just 1/8 inch below the panel surface to prevent blowout. Start the saw at full speed, then smoothly guide it along the straightedge, maintaining steady pressure without forcing the cut. A consistent approach also helps avoid sudden jerks that could disrupt the cut path. For tasks like installing a new fixture, using a similar steady approach ensures safety and accuracy. Leave panels slightly larger than final dimensions initially; you will trim to size afterward for the most precise, clean edges. Remember that factory edges are not reliable as a final reference, so always establish a reference edge before cross cutting. Following these steps guarantees a professional-looking cut with minimal splintering and accurate dimensions.
Assemble the Bedside Table Carcass With Rebates
Start by routing rebates into both side pieces for the bottom shelf to ensure a flush fit when assembled. Set your rebate thickness to match the board depth, which is 16 millimeters, with a rebate depth of about 6 millimeters. Incrementally move the saw fence by 3 millimeters per pass until the board slides easily into the slot. For a clean cut and efficiency, use a dado saw to complete the rebate in one pass. Use a laser tool for precise fitting when measuring the internal dimensions to ensure accuracy. Understanding the duvet cover comforter difference can help you choose the right bedding for your finished room. For a budget-friendly approach, you can reuse materials from old furniture to save costs on your build.
Next, cut a groove 1/8 inch deep at the back of each panel to hold the back board. Perform this cut before assembly to make handling easier and to ensure accuracy. After preparing the rebates and grooves, apply PVA glue to the mating edges and clamp the shelves and side panels into a box shape. Use proper joinery techniques such as gluing and clamping to ensure strong, durable joints. Take diagonal measurements to square the carcass, adjusting with long clamps until the frame is perfectly square before the glue dries.
Finally, measure the rebate at the back to determine the size of the filler pieces. Cut thin plywood strips to fit into the rebate. Spread glue around the rebate area, insert the filler pieces, and secure the back panel with panel pins driven into pilot holes. These steps ensure a tight fit and a professional finish for your bedside table carcass.
Attach Aprons and Legs for a Stable Base
Attach the aprons and legs to create a stable base. Apply glue to each face of the aprons and then use pocket screws to fasten the legs to the aprons tightly—avoid excess squeeze-out, which indicates too much glue. This method ensures a strong, solid bond between the parts. To reinforce stability, install a 5-inch angle brace at a 45-degree angle across each corner, screwing into both the apron and the leg. Next, glue stringers onto the aprons to further lock everything in place and add rigidity. For added joint strength, use dominoes and pocket screws to secure the components together. Finally, drill a 1½-inch hole into the top of each leg, align the bolt with the threaded insert in the mounting block, and tighten it until secure. Leave about three-quarters of the threads exposed to maintain a tight, gap-free fit.
Add Saligna and Butcher-Block Strips
To add the Saligna and butcher-block strips, start by preparing the Saligna with a thorough sanding using 240 and then 320 grit sandpaper to achieve a smooth surface. Focus on grain matching between the Saligna and the butcher-block strips to create a seamless visual flow. Cut the butcher-block strips to 1 inch by 2 inches, and rip them precisely to 15.5 inches on your table saw. For surface finishing, dust all surfaces thoroughly before wiping them with a turpentine-damp cloth. Apply PVA glue to the strips, then clamp them securely to ensure a strong bond. Use 1.25-inch nails for fastening, which provides quick and reliable attachment. When brushing stain, follow the wood’s grain pattern to enhance grain matching and overall aesthetic. This combination effectively conceals previous stains on the surfaces, making the entire top look intentional and cohesive. This assembly method aligns with the mid-century farmhouse aesthetic by using simple, functional construction that pairs well with the bed. Ensure a level alignment during clamping to mimic the precision alignment required for installing vertical blinds. To maintain the longevity of the project, you can also apply a low-heat dryer setting to cure any adhesive residues safely.
Square and Reinforce the Cabinet
To square and reinforce your cabinet, start by removing the plywood backing and doors so the frame can shift freely. Lay the cabinet face down and measure the diagonal from corner to corner on each side. Clamp the longer diagonal side and apply pressure until both diagonals match their average measurement—that’s how you verify the frame is square. Use diagonal braces with pointed ends to gauge squareness at corners, as diagonal measurements provide a more precise method than tape measures alone. For added comfort while working on the floor, a pregnancy pillow can support your knees and lower back during extended tasks. Ensuring the frame is square is like checking that a crib mattress has evenly matched dimensions to fit snugly without gaps.
Next, reinforce the joints by creating a square jig. Screw two scrap 2×4 pieces onto a 3/4-inch plywood base, positioning them at 90 degrees using a square to ensure perfect perpendicularity. Place this jig inside each cabinet corner and clamp the cabinet edges against it. This setup locks the frame in a square shape while you glue and reattach the backing. Leave a little wiggle room in the dado slot to prevent the backing from distorting the cabinet’s diagonal later. Once the joints are secure, your cabinet is properly squared and reinforced, ready for the next step. For a smaller workspace, consider how single and twin mattresses differ in dimensions and cost to optimize your room layout.
Sand and Apply Polyurethane to Your Bedside Table
After ensuring your cabinet is square and reinforced, start by sanding all surfaces thoroughly before applying polyurethane. Use 80-grit sandpaper on new wood to remove roughness and shape the surface, then switch to 120-grit for a smooth, even base. Proper sanding eliminates scratches and levels the grain, which is essential for a quality veneer finish. Wipe away all dust with a lint-free cloth, then clean the surface with mineral spirits to remove any remaining debris. Vacuum the room afterward to pick up loose particles that could interfere with the finish. Consider using water-based polyurethane for a clear finish that does not yellow over time, especially if your bedside table is painted white or has a light stain.
Allow the first coat of polyurethane to dry for at least 24 hours. Once dry, lightly sand the surface with 180 to 220-grit sandpaper to smooth out any imperfections. Use a foam brush to apply the second coat, working with long strokes that follow the wood grain. For an even smoother finish, wet-sand with 400-grit sandpaper after the first coat. Apply at least two coats of polyurethane, letting each dry completely before adding the next. The final coat requires a full 24 hours to dry and cure before handling; the complete curing process can take up to 30 days for maximum durability.
Common Mistakes to Avoid When Building a Bedside Table
Once the polyurethane fully cures, focus on avoiding common building mistakes that can compromise your bedside table’s quality. First, ensure the height of your bedside table is relative to your mattress; measure your mattress and leave a clearance of 1 to 2 inches to prevent it from being too tall or too short. Watch out for drawer depth interference with your bed frame: make sure drawers won’t hit or stick when opened. When attaching a solid wood tabletop, use screws instead of glue to allow for wood expansion and contraction due to humidity changes. Beginners often overlook the importance of accurate seam allowances when starting a quilt pattern, which can cause misaligned pieces later in the project.
When cutting material, never make cuts directly on the waste line—always cut beside it to maintain precision and avoid ruining your measurements. Skipping the dry fit step can lead to a messy glue-up that’s difficult to align properly, so take the time to test fit each piece before applying glue. Don’t rush the insertion of screws; always clamp pieces square first so that screws are inserted smoothly and the structure remains stable. For finishes that add a glossy, durable layer, polyester sheets offer a similar slick surface to polyurethane but are less breathable than natural fibers.
Finally, always sand off the shellac undercoat before applying polyurethane. This step ensures a smooth, even finish. For decorative hardware, consider alternative finishing options like using unscented flowers or keeping surfaces clutter-free, which emphasizes a clean, balanced aesthetic following the rule of three for a polished look. Incorporating a rock salt lamp nearby can also create a soothing ambiance while subtly improving air quality.
How to Customize Your Bedside Table With Hairpin Legs
To customize your bedside table with hairpin legs, start by positioning the legs about 3/8 inch from each corner of the tabletop. This spacing creates a balanced, clean floating appearance while maintaining stability. Use threaded inserts rather than pre-drilled holes for a secure fit and to avoid visible marks on your surface. Apply fix-all adhesive at the base of each leg to prevent wobbling over time. For the tabletop finish, sand the edges with 120 grit sandpaper first, followed by 220 grit, to ensure a smooth surface. Wood glue applied to joints ensures secure bonding during assembly of the frame. Then, apply a two-in-one stain and sealer in two coats for the desired color—light pine or darker stain works well for contrast. For added precision, consider marking the placement of your hairpin legs with a fabric or paper template first. A king-size comforter requires a large-capacity washing machine to avoid overloading and ensure proper cleaning. This approach combines style and durability, giving your bedside table a sleek, industrial look with a sturdy, customized finish.