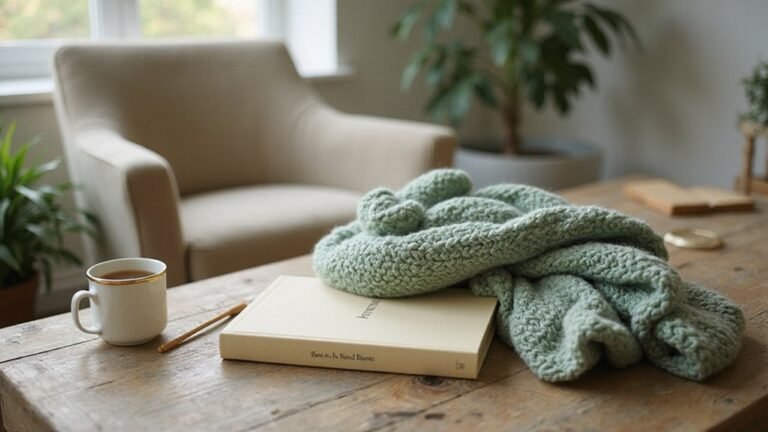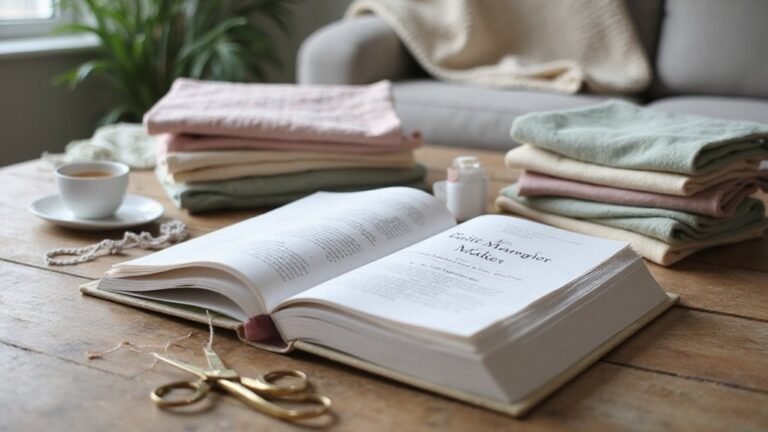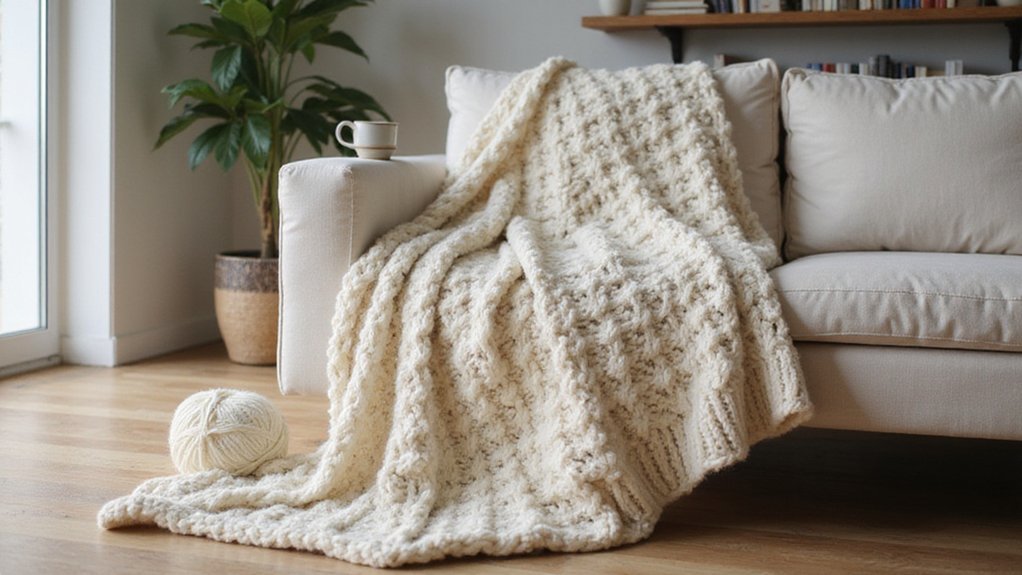
Want to create a cozy chunky knit blanket yourself? It’s easier than you might think, and all you need is some super bulky yarn and a bit of patience.
With a simple technique, you can make a plush handmade blanket that’s perfect for snuggling or gifting. The full step-by-step details are just below to help you get started.
Gather Your Chunky Knit Blanket Supplies
To gather your supplies, start with super bulky weight yarn, which is typically classified as size 6 or 7 yarn. You will need between 6 and 8 skeins for a standard-sized blanket, depending on its dimensions and your desired thickness. Choose colors that match or complement your room’s decor for a cohesive look. Have sharp scissors ready to cut the yarn, and a lighter to carefully singe the cut ends and prevent fraying. A measuring tape is essential to monitor your progress and ensure your blanket dimensions stay on track. Consider using budget-friendly yarns from Amazon or Michaels for a cost-effective project. For reference, a queen-sized blanket requires yarn yardage similar to the queen mattress dimensions often discussed in bedding guides. When choosing your yarn budget, keep in mind that bed frames and platforms vary significantly in cost, just as yarn prices can differ based on brand and quality. Securing the air conditioner in place with brackets prevents it from slipping out of the window.
If arm knitting feels awkward or cumbersome, keep large 35mm knitting needles nearby as a backup. To prevent tangling, store your extra skeins in a bin or basket while you work. Each skein should be at least three times the width of your final blanket to allow for a proper cast-off. When joining new skeins, trim the ends to about 6 inches and tie tight knots to secure the join. With your supplies gathered and organized, you’re ready to begin your chunky knit blanket project.
Cast On the Foundation Chain for Your Chunky Knit Blanket
To cast on the foundation chain for your chunky knit blanket, start with a slip knot using a tail of 6 to 12 inches. Choose a chunky weight yarn for easier handling and consistency. Use your fingers to gauge each loop, aiming for two and a half to three finger widths to keep all stitches uniform.
Insert your fingers into the loop, pull the working yarn through, and tighten to create the first stitch. Adjust each subsequent loop to match the size of your initial gauge, maintaining even tension. Keep the tail facing upward and the working yarn downward to form a rounded corner. Create at least 20 loops for practice or 30 for a standard blanket, making sure to count the final loop as part of your total. Keep this loop open and loose, as it will be used for the next row. Slightly tighten the corner loops for a neat and even edge. By working into the back of the loops, known as the “dragon bumps”, you can form a braided border on each side of the blanket. For additional inspiration, consider exploring DIY headboard ideas to repurpose similar chunky materials in your bedroom decor.
Knit Each Row With Even Loop Sizing for a Chunky Knit Blanket
To maintain consistent loop sizing when knitting each row, aim for each loop to be roughly two finger widths wide. Use your first three fingers as a guide to measure every loop as you knit. This helps prevent stitches from becoming too tight or too loose, which can distort the blanket’s appearance. Consistent tension is key to achieving an even, chunky look. For a blanket of this size, measure the length and width to confirm your 42 in x 60 in adult throw dimensions. A standard twin mattress, often used for a cozy bedroom setup, measures 39 inches wide by 75 inches long, so this throw will cover the top portion nicely. A full mattress, by comparison, is 54 inches wide and offers a wider sleeping surface for a more spacious feel. Beginners can simplify the process by selecting a beginner quilt making kit that includes pre-measured yarn and clear instructions.
At the start of each row, flip the last loop of the previous row upward and press it flat. Then, lift the top loop from the original foundation chain using your knitting needle, pulling the working yarn straight through. Be careful not to twist the loop; instead, pull it upward to keep the row’s structure intact. When you reach the end of each row, make one standard loop plus one slightly larger loop to connect smoothly to the next row. Count your loops to verify the extra one, and repeat this process every row to maintain perfect alignment.
Switch Colors and Control Tension for a Polished Look
To achieve a clean color switch, cut the old yarn sharply at the end of a row and bond it to the new yarn by trimming away excess fluff and melting the plastic cords together. Hold the fused section as it cools to ensure a secure bond, then gently roll it between your fingers to smooth out any irregularities. This technique makes color changes nearly invisible and keeps your blanket looking flawless. Performing the color change at the end of a row ensures even stripes, as recommended for uniform patterns. Ensuring the blanket remains true to standard queen dimensions is important for fitting bed frames properly, especially when using specific materials. Additionally, keeping your leftover yarn stored in labeled bins prevents tangles and simplifies finding the correct color for your next project.
Adjusting tension at each switch is essential for a polished appearance. Perform a tug test on the fused joint to verify its strength before proceeding. Immediately after switching colors, adjust the first stitch to match the width of the edge stitches from the previous row, pulling the new loop carefully into place to hide the transition. If the tension feels uneven, undo the stitch where the new color begins and reset it at the correct tension. Controlling stitch size at every switch ensures your finished project looks professional and consistent.
Finish Off Your Chunky Knit Blanket by Weaving in Ends
To weave in ends on your chunky knit blanket, start by choosing a tapestry needle that matches your yarn’s thickness and thread one tail through it. Flip your blanket so the wrong side faces up to hide any imperfections. Weave under horizontal strands between V-shaped knit stitches for at least 4 inches, using duplication stitches that mimic the knit pattern. When securing new skeins, weave both tails in opposite directions and go back and forth three times to ensure they stay firmly in place. If you’re sewing on embellishments, use the same technique to lock them securely. After you’ve secured loose threads, tug gently but firmly, then trim the yarn close to the edge. For extra security, tie a loose knot before trimming, and apply a small dab of fabric glue at the knot to increase durability. For thicker yarn tails, passing through the core provides extra security against slipping. Another option is to weave both tails in opposite directions, similar to securing new skeins, to create a stronger hold. Using a cool memory foam topper underneath the blanket can help prevent overheating during sleep. Selecting a standard crib mattress size ensures your blanket fits the nursery bedding properly. Once finished, you’ll have a clean, polished look with no visible ends.