If you’ve ever wondered how to get the most out of your humidifier, you’re not alone. Proper placement, water choice, and regular cleaning can make a big difference in maintaining healthy humidity levels. Doing these simple steps can help ensure your device works smoothly and keeps your environment comfortable.
The full details are just below to help you get started.
Where to Place a Humidifier for Best Results and Safety
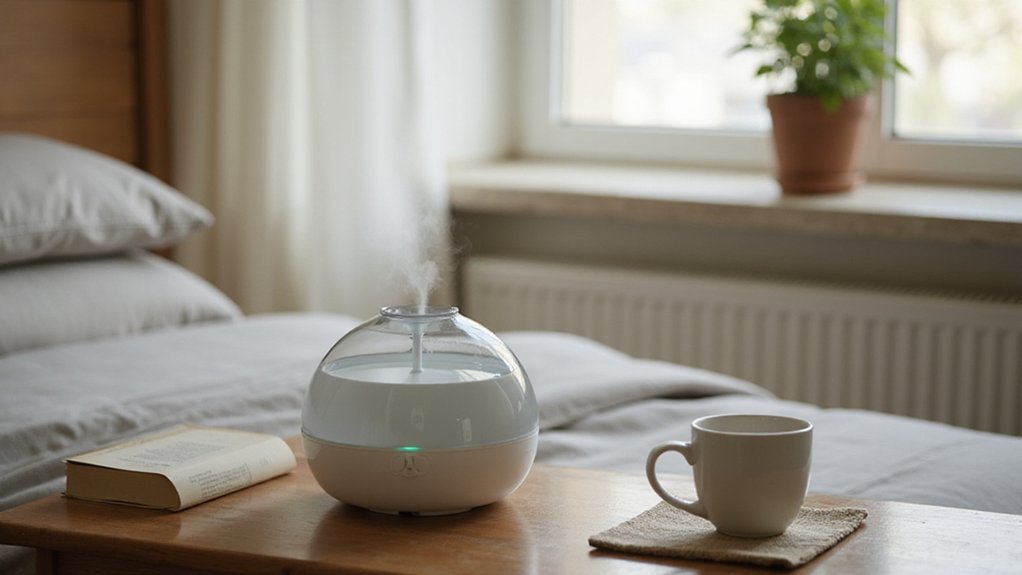
Place your humidifier on a sturdy, elevated surface like a table or dresser about two to three feet off the floor. This height ensures the mist circulates upward rather than settling immediately on surfaces, enhancing distribution and effectiveness. Keep the unit on a flat, dry surface to prevent tipping. Avoid placing it directly on wooden furniture to prevent water damage. Maintain at least 12 inches of clearance from walls and between 12 and 36 inches from furniture to allow proper air circulation. For safety, position the humidifier at least three feet away from electronics and avoid placing it near decor items that cannot get wet. Do not put it on carpets or rugs, as this can promote mold growth, and keep it away from vents to ensure consistent mist dispersal. Positioning it high also prevents mist from settling immediately on surfaces. This approach mimics how a cozy bedroom benefits from balanced humidity to keep bedding and air feeling fresh. For optimal space planning, ensure the unit’s placement does not exceed the typical clearance needed for a queen mattress bed frame, which measures 60 inches wide by 80 inches long. Regularly check the humidifier’s water tank for proper drainage to avoid bacterial buildup, similar to how you would care for a weighted blanket to prevent mildew.
How to Set Up Your Humidifier the Right Way
To set up your humidifier correctly, start by thoroughly cleaning the water reservoir with mild dish soap to eliminate any manufacturing residues. Rinse it well to ensure no soap remains, as leftover soap can disperse into the mist. Next, inspect internal components such as the filter, sponge, and any moving parts for damage or buildup, replacing or cleaning them as needed. Dry the exterior of the unit to prevent water spots and mold growth. Place the humidifier on a flat, stable surface, ensuring it is at least 12 inches away from walls and furniture to allow proper air circulation and reduce the risk of mold and mildew. The device features a medicine cup at the top for adding medicated vapor to help relieve coughs and congestion. Ensure the unit is placed on a surface that can support its weight when filled, similar to choosing a stable window ledge for a window air conditioner. For ongoing freshness, adopt a regular cleaning routine to prevent mineral buildup and bacterial growth.
Fill the reservoir with distilled water up to the indicated line, pouring gently to avoid splashing or spilling. Before turning the unit on, soak the floral sponge evenly, making sure it is saturated but not dripping or layered with excess water. Plug in the humidifier, then set the humidity level between 30% and 50%, depending on your comfort and room conditions. Adjust the mist output to low, medium, or high based on your preference or needs. If issues arise, check that the power cord is securely connected, and use a hygrometer placed away from the humidifier to monitor room humidity to ensure accurate readings. This helps you avoid over-humidifying the air, which can encourage mold growth and dust mites.
What Kind of Water Should You Use in a Humidifier?
Using distilled or demineralized water is best for your humidifier. Tap water contains minerals that create white dust and can cause mineral buildup inside the device. This buildup can clog filters and damage the mechanisms over time. Using purified or reverse-osmosis water effectively prevents mineral deposits and keeps your humidifier running smoothly. Filtered or reverse-osmosis water are good options if distilled water isn’t available. Avoid spring or regular bottled water, as their mineral content can harm your device and compromise air quality. Prioritizing the right water helps extend your humidifier’s lifespan and ensures healthier indoor air. For those sleeping with acid reflux, elevating the upper body with a pillow wedge for GERD can also prevent nighttime discomfort from mineral-laden air.
Choosing the Best Mist Settings for Your Room
Mist output should be matched to your room size and the desired humidity level for optimal comfort and device efficiency. When weighing options, consider that quilts and comforters differ in insulation and breathability, affecting how humidity feels. For a small bedroom, a mist output of 0.3 to 0.8 gallons per day usually suffices. Larger spaces may require 3 to 5 gallons or more daily. To avoid issues like mold and condensation, keep the relative humidity between 40% and 60%, with 50% often considered ideal. Adjust your mist settings gradually—raise or lower output based on how the room feels after about an hour. Using a hygrometer helps monitor humidity levels and fine-tune the mist output accordingly. In winter or in dry climates, you might need from 1.5 to 3 gallons of mist daily. Always aim the mist toward the center of the room rather than at walls, and position the unit off the floor for better circulation. Start with the lowest moisture output level and assess the impact before increasing, as continuous use on high may lead to more moisture than needed. A bedroom setup with proper humidity also complements the use of duvet inserts for maintaining consistent sleep temperature.
How to Track Humidity Levels Around Your Humidifier
To accurately track humidity levels around your humidifier, place a digital hygrometer at breathing height—about 3 to 6 feet off the floor, away from direct sunlight, heat sources, or drafts. Avoid positioning it directly next to the humidifier, as this can give false readings. For calibration, use the salt test: seal the sensor with a moist salt slurry in an airtight container for 8 to 12 hours. It should read 75% relative humidity (RH). If it doesn’t, follow the manufacturer’s instructions to readjust. Allow the hygrometer at least 30 minutes to acclimate before taking measurements.
Run your humidifier on high for about 30 minutes with the doors closed, then check the hygrometer. Your target should be between 40% and 50% RH. Make a habit of monitoring multiple times throughout the day to identify trends and ensure consistent humidity levels. Proper sensor placement and regular checks help prevent over-humidifying and potential issues like mold growth or dust mites. Maintaining this range also supports immune system functioning by reducing respiratory infections and alleviating allergy symptoms, as noted in guidelines on indoor humidity.
How to Clean Your Humidifier Without Breaking It
To clean your humidifier without damaging it, start by unplugging the unit and disassembling all removable parts—such as the water tank, lid, and any plastic components. Empty out any remaining water from the tank. Prepare a cleaning solution by mixing two tablespoons of white vinegar per half-gallon of water, which effectively dissolves mineral buildup. Use a soft brush to scrub seams and corners, paying special attention to areas prone to deposits. A cotton swab can help dislodge mineral deposits around the nebulizer. Always use distilled water during routine operation to reduce mineral deposits that may damage the machine. For best results, establish a weekly cleaning routine to prevent buildup from becoming stubborn.
For disinfection, use a bleach solution at a ratio of one teaspoon per gallon of water. Be careful to avoid applying bleach on the filter, as it can damage the antimicrobial coating and compromise air filter maintenance. After cleaning, rinse all parts thoroughly to remove any residue. Dry each component completely with a microfiber towel, then let them air dry for several hours. Ensuring the unit is fully dry before reassembly reduces the risk of motor strain, which is a key noise reduction technique. Proper drying also helps maintain the humidifier’s longevity and performance.
How to Store Your Humidifier When You’re Not Using It
Proper cleaning and drying are essential steps before storing your humidifier. First, unplug the unit and carefully disassemble all removable components, including the water tank, base, and any other parts. Empty all water from the tank and base to prevent mold growth. Use a soft brush to thoroughly clean hidden crevices where mineral deposits and dirt can accumulate. Deep clean the unit by soaking it in a vinegar solution for 30 minutes to remove mineral buildup. Follow with sanitizing using hydrogen peroxide to eliminate bacteria and mold spores. Rinse every part thoroughly with clean water to remove any residue, then dry each piece completely. Wipe down the components with a clean cloth, air dry them for 24 to 48 hours, and run the empty humidifier for 30 minutes to ensure all moisture is gone. Remove and discard used filters to prevent moisture retention. For long-term storage, pack the humidifier in its original box with silica gel packs to control moisture and keep it in a cool, dry, well-ventilated area. Never store the unit while it still contains any moisture. To further reduce energy costs during operation, consider pairing your humidifier with an energy-efficient space heater for more sustainable climate control.