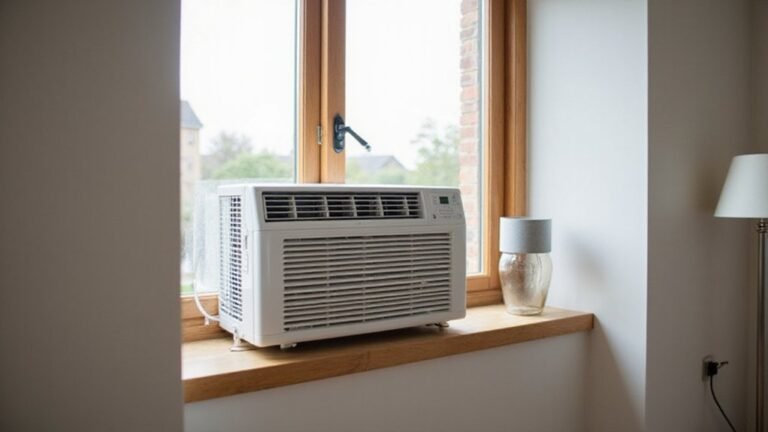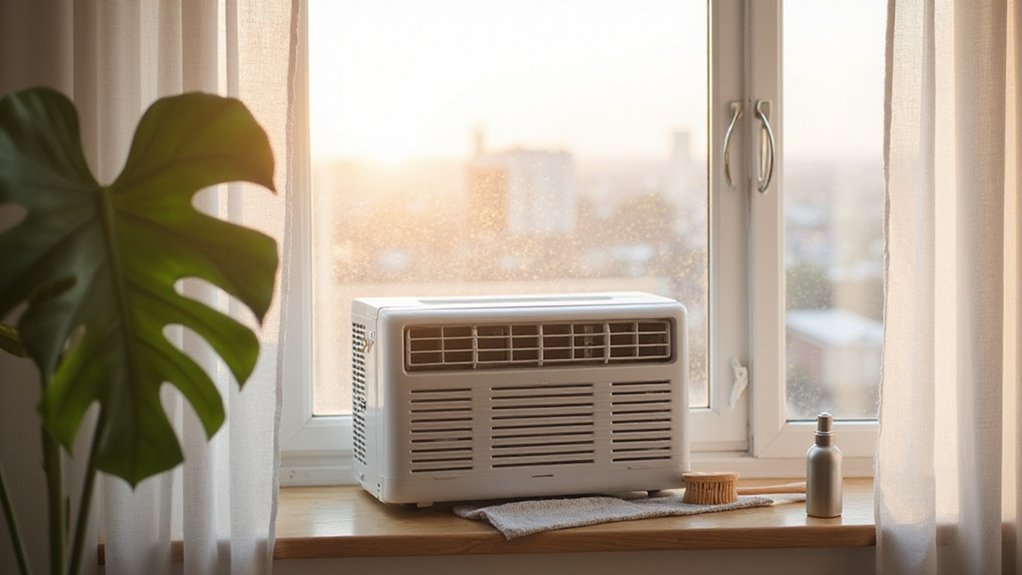
Having trouble keeping your window air conditioner clean and running efficiently? Regular cleaning can improve performance and extend its lifespan.
By following a few simple steps, you can remove dust, mold, and buildup that hinder airflow and cooling ability.
Keep reading to learn exactly how to freshen up your unit and keep it working smoothly.
Why Deep Clean Your Window AC (And How Often)
Deep cleaning your window AC unit at least once a year is essential for optimal performance and air quality. This helps prevent mold and mildew buildup in damp drain pans and on dirty coils, which can become breeding grounds in less than two weeks. Contaminated air from mold spores can recirculate into your room, harming your health and reducing overall air quality. Additionally, grime-coated coils can decrease your unit’s cooling efficiency by up to 30%, making it work harder and increasing your energy bills. Using mold-specific products like Conrobium, which kill mold and inhibit growth, is far more effective than bleach, which is corrosive to metal components. Ensuring your unit fits securely in the window frame, similar to how a queen mattress requires proper frame support for stability, prevents air leaks that can reduce cooling efficiency. Always gather the necessary tools before starting, such as a screwdriver, vacuum cleaner with a brush attachment, and a coil cleaner.
To maintain your AC’s performance, clean the filter every month during peak usage. If you have pets or live in a humid environment, increase the frequency to every two to three weeks for filters and every six months for coils. Proper scheduling ensures your unit stays efficient, clean, and safe to use year-round.
Tools and Safety Prep for Window AC Cleaning
To prepare for cleaning your window AC, gather essential tools: a screwdriver, soft brush, vacuum with brush attachment, fin comb, and a spray bottle for cleaning solutions. Start by turning the unit off with the on/off switch and unplugging it from the wall to prevent electrical shocks. Use the screwdriver to remove panels if needed, and be sure all electrical parts stay dry during cleaning. Work in a well-ventilated area to minimize fumes from cleaning solutions. For a degreaser, mix equal parts Simple Green and water, or opt for mild soapy water for general wiping. If deeper internal access is necessary, carefully remove the unit from the wall sleeve, following your owner’s manual instructions. Proper safety measures, such as unplugging and working in a ventilated space, ensure you clean effectively without risking shock or damaging components—no professional service needed if you follow these steps carefully. Using gentle techniques and avoiding harsh chemicals helps preserve the unit’s condition, much like proper care methods used for delicate fabrics. Applying these budget-friendly tips can help you avoid costly repairs while maintaining a clean unit.
Remove and Clean the Filter and Front Panel
To remove and clean the filter and front panel, follow these steps carefully. First, locate the notches or clips on the front edges of the unit. Carefully slide or pop out the air filter, noting that designs vary by brand. Next, unclasp or unscrew the front panel to access inside components.
Vacuum both sides of the air filter using a shop vacuum without brush attachments to remove dust and debris. Then, wash the filter in warm, soapy water with dish soap. Gently scrub the front and back with an old toothbrush, rinsing thoroughly until the water runs clear. If you see mold, soak the filter in a solution of one part vinegar to three parts water for about 15 minutes before rinsing. Since front panels are plastic, prone to brittleness, care is needed to avoid breaking delicate tangs or covers during removal.
For the front panel, vacuum all visible surfaces and slats to remove dust and dirt. Upholstered headboard maintenance follows a similar principle of avoiding harsh scrubbing to protect delicate surfaces. Just as cellular shades trap air to insulate the window, a clean filter ensures the unit’s airflow remains unobstructed. Allow both the filter and the panel to air dry completely in a well-ventilated area to prevent mold growth. Once dry, slide the filter back into its housing and reattach the front panel, making sure it is properly latched or screwed in place. For faux wood blinds, a similar gentle cleaning approach prevents warping and damage to the finish.
Clean Coils, Fins, and Drain Hose Safely
To clean your coils, fins, and drain hose safely, start by vacuuming loose dust from the coils using a brush attachment, working in the direction of the fins. Next, mix one part Simple Green degreaser with one part water and spray it generously onto visible coils, allowing it to sit for 10 to 15 minutes. Afterward, apply a foaming HVAC coil cleaner until the coils are fully covered and let it soak for 5 to 10 minutes. For fin straightening, gently use a soft brush to realign bent fins, then carefully straighten any bends with a fin comb, taking care not to damage the metal. Rinse the coils from inside to outside with low-pressure water, pushing debris away from the fins. When cleaning the drain hose and pan, pour a 50/50 mixture of water and white vinegar to eliminate mold. Scrub the drain hole with a bottle brush, and remove any standing water using a cloth. Focus particularly on the inside coil, as it is more prone to airflow obstruction due to dirt buildup.
Dry the Unit Completely and Avoid Reassembly Mistakes
To prevent mold, rust, and electrical hazards, you must dry the unit completely before reassembling. Use the fan on dry mode to circulate air and help wick away internal moisture. Manually wipe the coils, fan blades, and drip pan with a dry microfiber towel. Tilt the unit backward to drain any remaining water, then allow it to air dry in a well-ventilated area for 15 to 30 minutes. Ensuring all moisture is gone is crucial to avoid problems later. The drying process is especially important if your window unit is similar in size to a full or queen mattress, as more surface area can trap moisture. You can also use a small fan to accelerate drying, just as you would when working with fabric materials in a home project. This approach is similar to how perfect sweater hangers prevent stretching by distributing weight evenly to avoid common mistakes during the drying process.
Never reassemble until every part is completely dry. Air dry filters on a soft cloth and wipe down the face panel and vents. Check the drain pipe for blockages and clear any obstructions. When storing the unit, keep it upright, cover it with a breathable fabric, and store it in a dry indoor space. Before plugging it back in, confirm the drip pan is empty and perform a test run. Never operate the unit until it is thoroughly dry to prevent soap residue, water clogging pipes, or electrical shorts.