If you’re wondering how to clean your mattress pad without damaging it, you’re not alone. Knowing the right steps can help keep it fresh, comfortable, and long-lasting.
By the end of this, you’ll learn how to wash your mattress pad safely and effectively, whether it’s made of foam, down, cotton, or wool.
Dive in to discover simple tips for stain treatment, gentle washing, and proper drying to preserve its fluff and integrity.
Check the Care Label Before Washing Your Mattress Pad
Always check the care label before washing your mattress pad to avoid damage. The label indicates whether it is machine washable, hand wash only, or spot clean only, ensuring you choose the correct method. It also specifies the proper water temperature; for waterproof styles, cold water is usually necessary to preserve the membrane. Detergent guidelines are included—mild, fragrance-free liquid detergents are recommended to prevent residue buildup, and down-filled pads often require a special cleaner. For stain removal, the label may suggest spot-treating with mild soap prior to washing. Drying instructions are also provided; air drying is generally safest, while low-heat tumble drying is acceptable if explicitly permitted. If your mattress pad has a waterproof backing, it is important to note that a queen size mattress requires a pad designed to fit its specific exact dimensions to ensure full coverage and protection. This is similar to how a window air conditioner must be properly secured to the window frame to prevent accidents. Ignoring these instructions can reduce your pad’s lifespan or compromise its protective features. You should also inspect the topper for damages and stains prior to washing to effectively address any issues.
Is Your Pad Foam, Down, Cotton, or Wool? Here’s How to Tell
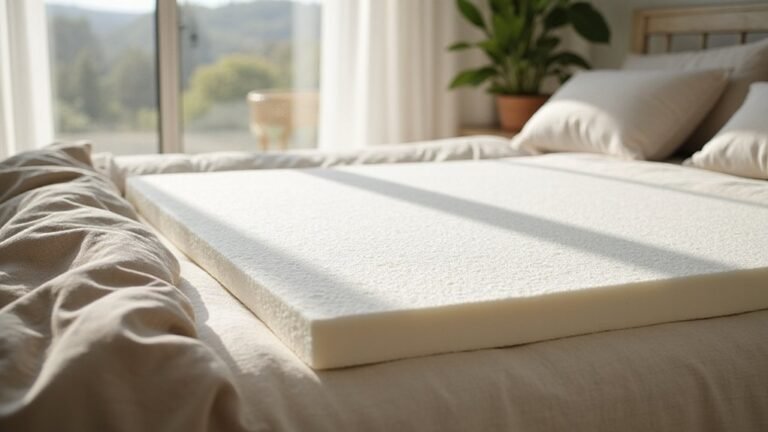
Foam pads feel dense and typically measure between 2 and 10 centimeters in thickness. They often have a removable cover that mimics a thin mattress and provide a firm, even surface. If the foam is damaged, you’ll notice uneven compression or dips in the pad’s surface, which can help identify issues with the material. Because foam is quite dense, it generally doesn’t compress as easily as natural fibers, and its weight can give you a good clue about its density. When checking your mattress pad, pay attention to these qualities to determine if it’s foam or another material. For those who enjoy tackling home projects, learning how to make roman shades can be a satisfying way to customize window treatments. Unlike foam, a comforter works by trapping warm air to create a cozy sleeping environment, which highlights a different approach to bedroom comfort. For those seeking to enhance privacy during daytime hours, one-way glass film offers a similar reflective effect to foam’s density by blocking outside views while allowing light through.
Pre-Treat Stains Without Spreading Them Deeper
To pre-treat stains without making them worse, start by blotting wet stains immediately with a dry towel. Press firmly for about 90 seconds without rubbing, aiming to absorb the liquid rather than push it deeper into the fabric. Use a gentle blotting motion from the stain’s outer edge toward the center; this helps contain the stain and prevents spreading. Lightly dampen the area with a cloth—not saturated—to prepare it for cleaning.
For most stains, prepare a solution of equal parts white vinegar and warm water. Biological stains such as urine or blood require an enzyme cleaner. Do not use warm water on blood stains, as cold water helps prevent coagulation and set the stain. Spray the cleaning solution with a fine-mist bottle, then dab gently to apply it evenly. Allow the solution to sit for 8 to 12 minutes to work on breaking down the stain. Finish by blotting with a dry towel until no moisture remains, preparing the fabric for the next washing step. Following expert recommendations, choosing a gentle quilt pattern can help you organize your cleaning routine for delicate fabrics.
Pick the Right Wash Cycle and Water Temperature for Your Mattress Pad
Choose a gentle wash cycle and water temperature for your mattress pad. Set your washer to a short or medium delicate cycle to minimize stress on the materials and protect waterproof layers. Use water temperatures between 30°C and 40°C, as hotter water can shrink cotton or damage membranes. For synthetic or polyester mattress pads, sticking to 30–40°C is ideal. Always select a low-agitation or gentle spin setting, around 400 RPM, or choose “no spin” to help preserve the structural integrity of the padding and coatings. Adding an extra rinse can ensure removal of detergent residue, which helps maintain the pad’s waterproof features. Avoid high-temperature cycles and harsh detergents because they can degrade elastic and membrane layers, reducing the effectiveness of your mattress pad’s protection. For a similar reason, choosing between comforters and duvets often involves evaluating washability and protective layers. Understanding twin mattress sizes can help you select the right pad dimensions for a cozy bedroom setup. Likewise, considering vaulted ceiling lighting may influence how you position your bed for optimal light and comfort.
How Much Detergent Do You Need for a Mattress Pad?
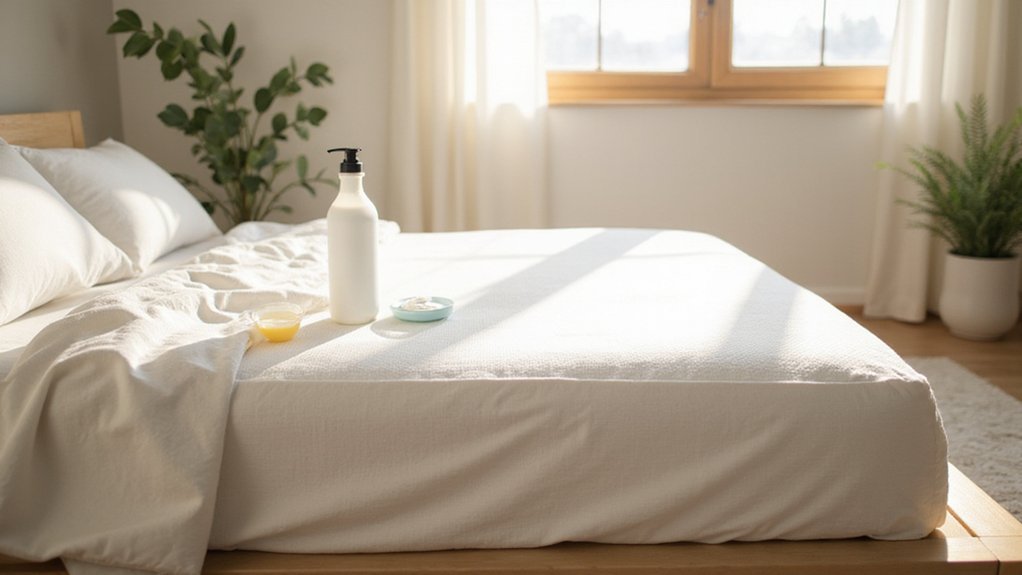
Use about ¼ cup of detergent for a standard machine load of a mattress pad. If you’re hand-washing a large foam pad, just one tablespoon of mild detergent is sufficient. Always check the care label before washing to ensure you’re using the right detergent type, especially for fabrics like down, wool, or vinyl. Adjust the amount of detergent based on how dirty the pad is and the size of the load, but never exceed the manufacturer’s recommended amount. Water hardness also affects detergent use—if your water is soft, use even less to prevent over-sudsing. For down-filled mattress pads, opt for a down-specific cleaner instead of regular detergent. Using too much detergent can cause rinsing problems, leaving sticky residue and trapping dirt. Less detergent means a cleaner rinse and a fresher pad. The same principle applies to other delicate fabrics, where a gentle, cool water wash helps preserve fiber integrity and prevent residue buildup. When considering your overall bedding maintenance, choosing the right bed support system can also impact how often you need to deep clean your mattress pad. Additionally, an air purifier in the bedroom can reduce airborne dust and allergens, helping keep the pad cleaner for longer by filtering particulate matter from the air.
Rinse Until Water Runs Clear: No Soap Left Behind
To ensure all soap residue is removed, rinse the mattress pad until the water runs completely clear. Drain the soapy water and refill with clean, lukewarm water. Use your palms to press through the pad, flushing out remaining soap. It’s best to repeat this process two to three times to fully eliminate suds. Keep a close eye on the exiting water; it should match the clarity of your tap water and contain no cloudy tint or floating particles. If suds persist, add half a cup of vinegar to the rinse water, squeeze it through the foam, let it sit briefly, then drain and rinse again with cold water. Work methodically section by section, applying gentle pressure to expel trapped detergent. Confirm no suds are present before proceeding. Finish with a handheld shower head if available, blotting as you go, then gently squeeze out excess water to help with drying.
Why You Should Never Twist or Wring a Mattress Pad
Twisting or wringing out your mattress pad can cause serious damage. Wringing crushes foam’s internal air pockets, leading to permanent sagging and lumps that won’t bounce back. Twisting wool fibers or delicate fabrics can tear the material or misalign fibers, ruining the pad’s support and shape. If your pad has a removable cover, avoid taking it off as it may expose fiberglass fibers that can cause eye, nose, throat irritation and contaminate your bedding. Choosing between a dehumidifier and a humidifier for your home involves considering relative humidity levels that affect mattress pad drying conditions. For example, using a DIY storage bin rack can help you organize cleaning supplies and drying tools more efficiently.
If your pad has waterproof layers, twisting can break down these membranes. Heat-sensitive waterproof membranes are particularly vulnerable to delamination, which makes liquids seep through. Thick padding also traps moisture inside when twisted, creating a breeding ground for mold and mildew. Even quilted covers are at risk: twisting damages stitching and causes bunching that can’t be fixed. A similar gentle approach is recommended for battery-operated string lights, as rough handling can damage delicate wiring and connections.
Instead of twisting, gently press the mattress pad between towels to absorb excess water. Handling it with care preserves its support, waterproof features, and overall lifespan.
Air Dry or Low-Heat Dry: Which Is Safer for Your Pad?
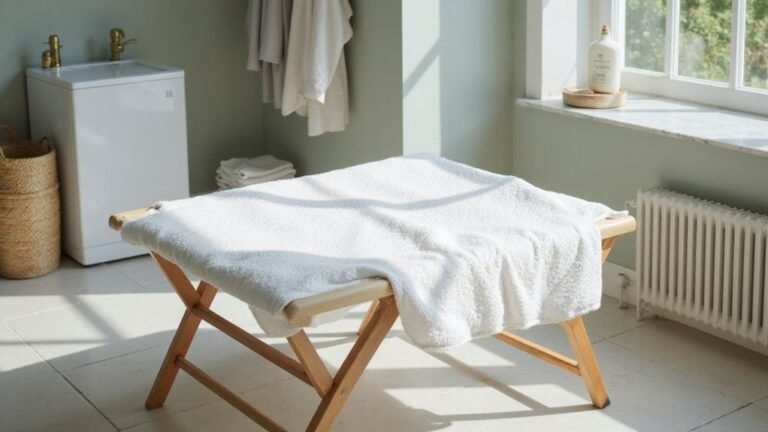
Air drying is the safest method for your mattress pad because it completely eliminates the risk of heat damage. After gently pressing out excess water with towels, place the pad flat on a drying rack or a clean, open surface to ensure good airflow. Keep it out of direct midday sunlight, especially on elastic edges, to prevent deterioration. Avoid hanging or draping the pad, which can cause stretching or deforming. Limiting moisture and ensuring broad air circulation helps prevent mold growth and maintains the integrity of your pad. If you prefer quicker drying, low-heat drying on a machine can be an option, but always check the care labels for temperature limits—especially for vinyl or waterproof membranes that tolerate only up to 40°C. Never put foam pads in the dryer; air drying remains the safest choice for those materials. When using a dryer, select the delicate or low-heat cycle, and pause every 30 minutes to fluff the pad, preventing heat-related damage.
Fluff and Restore Your Mattress Pad After Washing
Once your mattress pad is clean and damp, it’s time to fluff and restore its loft and shape. Start by vigorously shaking the pad from each corner to loosen compressed filling. Gently lift and drop it a few times to help redistribute fibers or memory foam particles evenly. While damp, reshape the pad on a flat surface, aligning corners and smoothing out wrinkles to maintain its original dimensions. For maintenance, use a tumble dryer on low heat, pausing every 30 minutes to manually fluff and shake the pad. Alternatively, air dry it flat on a rack, rotating it every hour. Once dry, air the pad outside to allow fibers to fully expand before putting it back on your bed. For best results, follow removal methods to eliminate any residual adhesive that might have transferred from a previous protective film.