Hanging a picture might seem simple, but getting it just right can be trickier than it looks. The right placement and secure setup make all the difference in achieving a polished, professional look.
By following some basic steps, you can ensure your artwork hangs perfectly and stays steady. Keep reading to learn how to do it right every time.
How to Find the Perfect Hanging Height for Your Picture Frame
The ideal hanging height for your picture frame is to position the center of the artwork approximately 57 inches above the floor. This 57-inch rule ensures that most art looks balanced and visually appealing in a variety of rooms. For standard residential spaces, aim to keep the artwork’s center between 57 and 60 inches high. In rooms with higher ceilings, you can raise this up to 63 inches for better proportion. Instead of relying solely on eye level, measure the height of your frame, divide it by two, and add that to your chosen center height. Mark this top edge position before drilling to avoid misplacement. To accommodate furniture like sofas or tables, leave the bottom of the artwork 4 to 8 inches above the furniture—starting with an 8-inch gap is a safe bet. Use painter’s tape to visualize the placement on your wall and take a photo to review the arrangement from a different perspective before making it permanent. Applying this principle similar to how one precisely measures installation steps for window units can improve accuracy. Maintaining this 57-inch guideline consistently across rooms enhances visual harmony and interior flow. For example, checking your measurements against standard queen dimensions ensures your artwork does not overwhelm a typical bedroom layout. When determining your picture’s top edge mark, first decide the center of artwork height using the 57-inch rule, then subtract half the frame height from that point for a consistent result.
Install D-Rings and Wire Your Picture Frame
To install D-rings and wire your picture frame, start by measuring one-third of the frame’s height from the top edge. Mark this spot on both sides, ensuring the marks are level. Place each D-ring about half an inch from the side edge and angle them upward at approximately 45 degrees. This positioning helps distribute the weight evenly and provides a secure hanging point. For a truly tidy space, it is helpful to plan D-ring placement with the same care used when organizing a closet. Secure the wire tightly to D-rings, ensuring a proper angle (15-30° recommended) to prevent excessive strain.
Cut a piece of picture wire that is twice the width of the frame plus 12 inches to allow for easy knotting and adjustments. Thread the wire up through the first D-ring from below, then cross it over the main wire to form a loop. Thread the loose end back through the ring and the loop, pulling the wire tight to secure it. Wrap the loose tail around the main wire 8 to 10 times to prevent slipping.
Stretch the wire towards the opposite D-ring, leaving a gentle sag so that it hangs about 1 to 2 inches below the top edge of the frame. Repeat the threading and wrapping process on the other side. Finally, trim any excess wire and use pliers to flatten the cut end, which prevents the wire from snagging or scratching walls.
Attach a Sawtooth Hanger for a Flush Wall Mount
A sawtooth hanger is an effective choice for a flush wall mount, providing a clean and secure way to hang your frame. To install it, start by placing your frame face-down on a stable, clean surface to avoid scratches. Remove any existing hanging hardware from the back of the frame. Then, measure and mark the midpoint along the top edge of the frame’s back. Position the sawtooth hanger approximately one-third to one-quarter of the distance down from that top edge, with the serrated teeth facing downward. Ensure the hanger is aligned straight and level with your center mark. Insert a nail into one of the mounting holes, gently tap it in, then do the same for the second hole. Fully drive both nails so the hanger sits flush against the frame’s back. Check for any damages or loose parts before proceeding. Finally, tug firmly to check that the hanger is secure and capable of supporting the frame’s weight without shifting or coming loose. Using a silk pillowcase while working can prevent scratches on delicate frame surfaces if you rest it on your lap.
How to Install Wall Hooks and Level the Frame
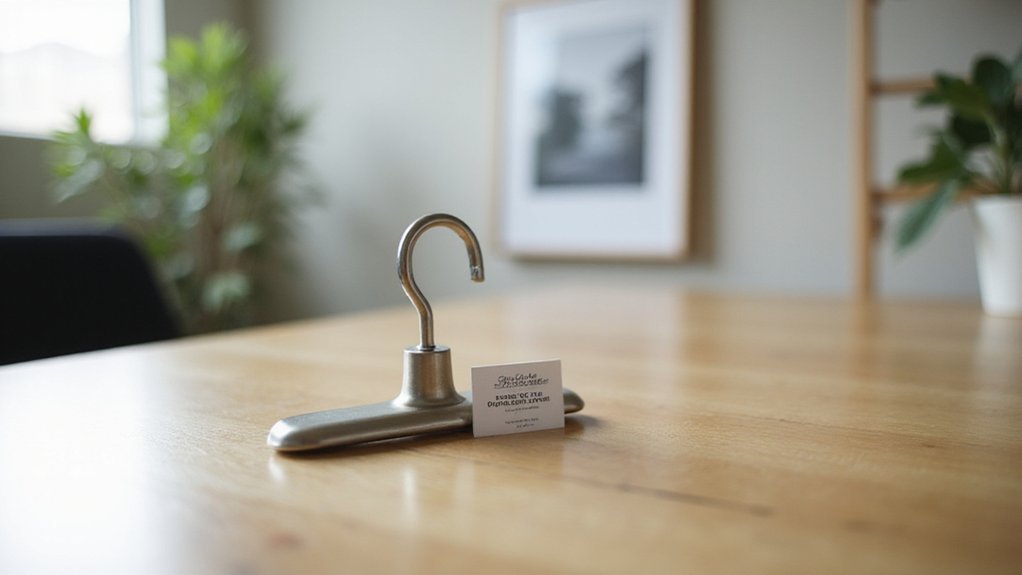
To install wall hooks and level the frame, follow these steps. For drywall, drill a small pilot hole first using a drill bit roughly the size of the hook’s support nails. Push the hook inward and then lift it slightly until it clicks or sits flush against the wall. Tap the support nails gently with a hammer to fully secure the hook. For masonry surfaces, pre-drill with a masonry bit suited to the wall plug size, then insert the wall plug. Thread the screw through the hook and tighten it into the wall plug. For bay windows, measure the curtain rod to span each angled section separately. Use a level to ensure your frame stays straight during installation. Before fully tightening the screw, double-check the alignment with a level to prevent crooked hanging. After tightening, recheck with the level to confirm the frame remains aligned. Remember that the standard crib mattress dimensions are typically 28 inches by 52 inches for a safe fit. Finally, perform a quick strength test by gently applying weight to the hook or frame to make sure it can support your intended load without loosening. For a more decorative approach, you can repurpose sturdy wooden pallets as a budget-friendly alternative for your frame support.
Hang Without Nails: Using Command Strips and Adhesive Tape
To hang without nails, use Command strips and adhesive tape designed for damage-free mounting. These adhesives are suitable for lightweight to medium-weight frames and work best when applied correctly. Start by cleaning the wall with isopropyl rubbing alcohol—avoid household cleaners since they leave a slippery residue that can weaken adhesion. Wait at least 7 days after painting before hanging, and make sure the temperature is between 50°F and 105°F for optimal sticking. Similar to removing dresser drawers, careful preparation and technique ensures a successful and damage-free outcome. Applying similar principles to a DIY headboard project can also help avoid wall damage. For optimal results, note that air purifiers work by circulating and trapping particles, which underscores the importance of proper airflow and adhesion for any mounted device.
Avoid applying strips to paper or fabric on the frame, and always remove any existing hardware before mounting. For larger artworks, use multiple hooks or strips; for example, a large Command Velcro strip can support up to 16 pounds. If your item approaches that weight, add extra strips to distribute the load evenly. Press each side firmly against the wall for at least 30 seconds, then leave the strips in place for one hour before reattaching the frame. In testing, a Command hanger rated for 3.6 kg supported weights up to 9 kg without detaching, showing a significant safety margin.
When it’s time to remove the strips, stretch them straight down against the wall, never pull toward your body, to prevent damage. Be cautious not to hang irreplaceable or valuable items or pieces over beds, as accidental falls could occur. Proper preparation and application ensure a secure, damage-free hanging experience.
What You’ll Need Before Starting Your Picture Frame Project
You’ll need a hammer, screwdriver, and wall plugs for secure fastening. For heavier pieces, a stud finder and drywall anchors are essential to ensure stability. Measure carefully: center your frame at 57 inches from the floor, which is a standard eye-level height, and leave at least 6 inches above nearby furniture to prevent accidental bumps. When hanging wire, cut it 12 inches longer than the width of your frame to provide proper tension and support. For frames on smooth, well-painted walls, using adhesive strips can further protect the surface if removed correctly. Choosing between a vanity or desk depends on whether you need a dedicated grooming station or a functional workspace. If you are interested in window treatments, you can also apply similar tension and measurement principles when making Roman shades from a DIY kit. For a consistent finish, use mitered corners to join the edges of your frame, a technique often used in quilt making to create clean seams. With these tools and measurements in place, you’ll be ready to hang your picture confidently and securely.