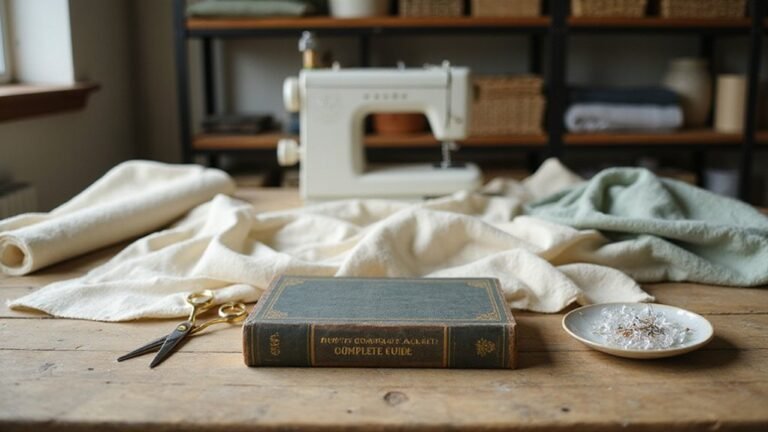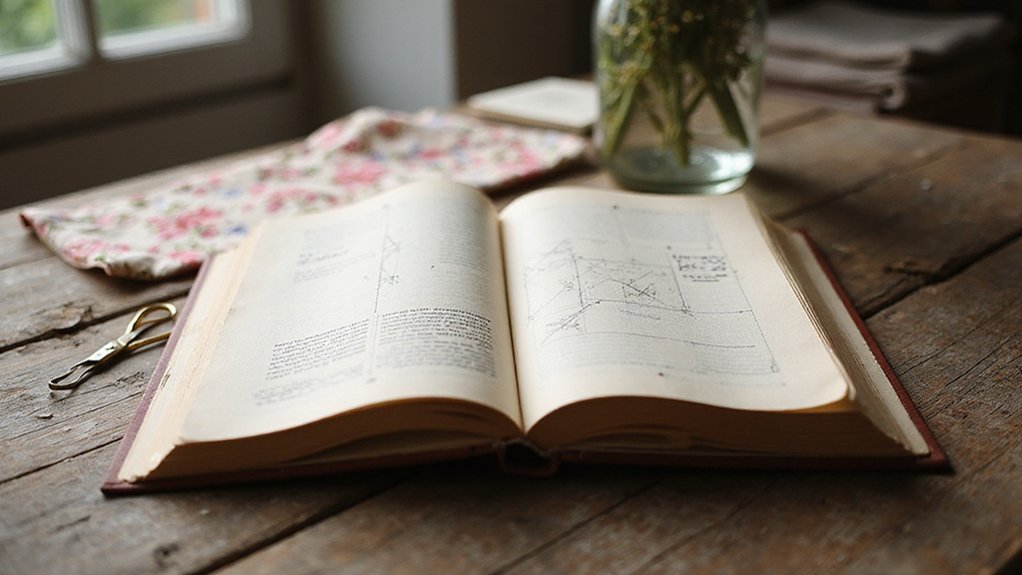
Starting a quilting project can feel overwhelming with so many techniques and tools. If you’re just getting started, sticking to simple blocks like four-patch or nine-patch can make the process much more manageable.
With the right tools and a bit of guidance, you’ll be creating beautiful quilts before you know it. Keep reading to find out how to lay a solid foundation for your quilting journey.
Why Accurate Cutting and Tools Matter for Beginner Quilt Patterns
Pressing your fabric flat before cutting is essential. Wrinkles cause uneven edges and inaccurate measurements, making precise cutting difficult. A smooth, wrinkle-free surface helps your cuts align properly with fold lines and ensures the strips are perpendicular, which is crucial for matching seams later. Understanding the difference between a duvet and a duvet cover can inspire similar precision when preparing your bedding layers for a cozy bedroom. A queen-sized mattress, for example, measures 60 inches wide by 80 inches long, which is a standard reference for fitting bedding layers accurately. This approach mirrors how a duvet coverlet creates a neat, protective layer over your comforter.
Use sharp blades and clear, accurate rulers. Dull blades tend to tear fabric, leading to jagged edges and uneven pieces. Ensure your ruler’s markings are clean and easy to see, preventing miscalculations. Always double-check measurements against the fabric edge before making your cut to avoid mistakes.
When cutting, position your ruler so it sits flush against the rotary cutter blade. Press the non-dominant hand firmly, like spider’s splayed fingers, to hold the ruler securely in place. Stand upright to maintain consistent pressure and control. Avoid sawing motions, which can shred fabric and wear down blades faster. Instead, keep the blade touching the ruler’s edge, making clean, straight cuts. After completing each cut, close the blade immediately to maintain its sharpness and safety. Precise cutting now prevents wonky blocks and mismatched seams later in your quilt. Before starting, always cut off any frayed raw edges to ensure straight lines and proper alignment.
5 Easy Quilt Blocks Every Beginner Should Try First
Start sewing your first quilt blocks by focusing on simple, manageable designs. For the Flying Geese block, cut one 7½-inch square into a large triangle and two 4½-inch squares into smaller triangles. Sew one side of each smaller triangle to the large triangle, lining up the corners with right sides together, using a ¼-inch seam. Finger press the seams to keep them flat. Use background fabric for the small triangles to create a strong color contrast. Ensure you measure the window frame accurately before starting to avoid sizing issues. Pay close attention to cutting and piecing accuracy to achieve crisp, professional results. An air purifier can similarly improve indoor air quality if used correctly.
Next, assemble the Four Patch: arrange four equal-sized squares in a 2×2 grid and sew them together with a scant ¼-inch seam to ensure neat, square blocks without puckering. Remember that nesting seams and pressing toward the darker fabric helps achieve precise points for a flat block. Then, move on to the Log Cabin block by starting with a 2½-inch square at the center. Add strips of fabric around it in a spiral pattern, cutting pre-made strips for consistency. This technique creates a classic, balanced look, great for practicing accurate strip sewing.
The Pinwheel block requires four half-square triangles (HSTs). Sew two matching fabric squares diagonally, then cut apart to form each HST. Assemble four HSTs into a pinwheel pattern, making sure to avoid fabrics with directional patterns that could twist or look skewed. Lastly, create a Bench Top or Bento Box block by combining three different units: Unit A (a two-color 4-patch), Unit B (two rectangles), and Unit C (a single square). Sew these units into a 3×3 grid to complete the 9-patch layout. This block introduces basic construction techniques and helps build confidence as you progress.
How to Choose Fabrics That Simplify Your First Quilt
Choosing fabrics doesn’t have to overwhelm you. Start with a pre-curated fabric collection, such as bundles that guarantee fabric coordination and color harmony from the beginning. Picking one standout fabric, or hero fabric, that catches your eye helps set the tone. Build your palette around it using matching solids or small-scale prints to create a cohesive look.
Stick with 100% cotton fabric for its stability and easy handling, which makes sewing more manageable. Cotton is durable and wears well over time in quilting, making it ideal for long-lasting projects. To make your primary prints pop, add a solid or low-volume fabric—these fabrics provide contrast without competing for attention. Using a layer cake or 10-inch stackers bundle offers instant variety in color values, simplifying fabric choices.
Check clearance sections for affordable practice fabrics that let you experiment without worry. Prioritize tightly woven, high thread count materials for durability and ease of sewing. Avoid large-scale prints in small blocks until you are more confident, as they can be overwhelming in smaller pieces. This approach streamlines your fabric selection process and helps you focus on piecing your first quilt with confidence.
Essential Cutting and Sewing Techniques for Beginner Quilt Patterns
Mastering a few core techniques ensures your first quilt comes together smoothly and accurately. Start with rotary cutter safety: always close the blade immediately after cutting and press down firmly with your left hand using a spider-grip. Cut outward, away from your body, keeping your wrist straight to prevent accidents and maintain control.
Precise fabric alignment begins with thorough pressing. Fold the fabric selvage to selvage, then shake it gently to even out the edges. Square the leading edge by trimming off any crooked or uneven parts. Place this folded edge on your cutting mat’s horizontal grid line for consistency. Align your ruler’s measurement mark exactly on the fabric edge and cut at a perfect 90-degree angle to ensure straight, accurate pieces every time. To keep rulers from shifting during this step, apply non-slip grips to their backs for enhanced cutting accuracy and safety. For a cleaner workspace, always close the blade immediately after each cut to prevent accidental injury. Similar to LED strip lights that can be cut at designated marks, you should cut quilt strips only along the straight grain to avoid fabric distortion and ensure precise joins. For organizing your fabric and tools, consider using sturdy closet rods to keep your workspace tidy and materials accessible.
For seam nesting, press one row’s seams to the right and the adjacent row’s seams to the left. Feel the seams with your fingers along the joined area to ensure they nest perfectly before sewing, which helps your quilt top lay flat. Use dual rulers to streamline trimming: lay a shorter ruler on the fabric fold and butt a longer ruler against it to trim without flipping your fabric, saving time and reducing errors.
Step-by-Step Guide to Assembling Your First Quilt Top
To assemble your quilt top correctly, start by laying the top square pattern face down on the floor to check your layout. Make sure you have already chosen your fabrics and prepped everything with proper cutting tools. Bookmatch the squares by placing them with right sides facing each other. Sew each seam with a precise 1/4-inch seam allowance, backstitching at the start and end to ensure durability. For visual planning, arrange squares into 6 rows of 7 before sewing. It is also helpful to follow expert guidance on pressing and pinning for more consistent results. Follow a clear step-by-step approach to bind the quilt edges after the top is assembled.
Next, assemble the blocks into rows by joining pairs, then fours, until each row is complete. Pin at the corners where the blocks meet, and add middle pins to prevent shifting. To keep seams aligned, gently rub them together until they lock, then hold the seams in place while sewing to preserve the match.
Press the seams downward—don’t glide the iron—alternating directions for each row to reduce bulk. Sew the rows together using the same 1/4-inch seam allowance, maintaining consistent stitching along the length of each row. When adding sashing, sew in alternating sections to create a balanced look. Finally, attach the border by sewing along the edges, starting 1/4 inch from the sashing ends to give your quilt top a polished, finished appearance.
Where to Find Free Beginner Quilt Patterns and Tutorials
You can find plenty of free beginner quilt patterns and tutorials online. Start at Fat Quarter Shop, where you can filter by “beginner friendly” and access patterns like Jelly Roll Jam with complete instructions. To download PDFs such as Bright Side Star, you’ll need a free Missouri Star account; these patterns include clear cutting guides and assembly diagrams to help you every step of the way. For visual learners, Jordan Fabrics offers video tutorials that demonstrate easy patterns from start to finish, making it easier to follow along. Art Gallery Fabrics and Robert Kaufman also maintain free galleries featuring projects designated as beginner-friendly. Additionally, community blogs like Scattered Thoughts of a Crafty Mom compile over 75 free patterns suitable for newcomers. When selecting a pattern, choose simple layouts such as 4-patch or 9-patch blocks to develop your skills gradually and avoid feeling overwhelmed. For projects like the “Mix and Match” pattern, you can arrange charm squares in three sets of 120 to achieve a versatile layout. Similarly, when considering storage and comfort for your sewing space, a king bed frame with a stylish headboard can transform your bedroom into a relaxing retreat after a long day of quilting. If you run a space heater in your sewing room, be aware that its electricity usage depends on wattage and runtime, which can affect your home energy bills. For cleaning the fan in your sewing room after long quilting sessions, follow a simple step-by-step process that includes unplugging, dusting, and rinsing the blades for fresh performance.